
Introduction
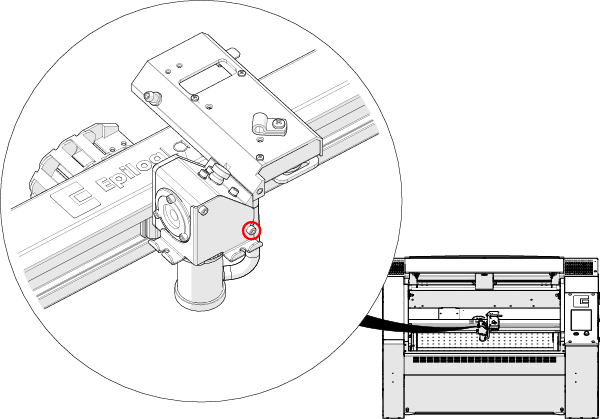
Proper removal and installation of the carriage optics in the Fusion 17000 laser system are essential for maintaining optimal performance and precision. This guide provides step-by-step instructions for safely removing and reinstalling key components, including the mirror, lens tube, and air assist tubing. Following these procedures ensures that the optics remain clean, secure, and correctly aligned for efficient laser operation.
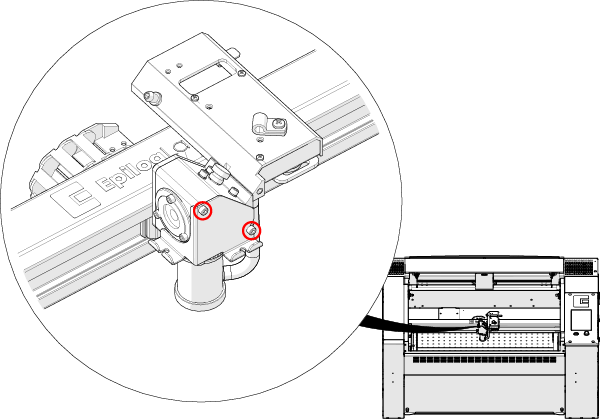
Carriage Optics Removal
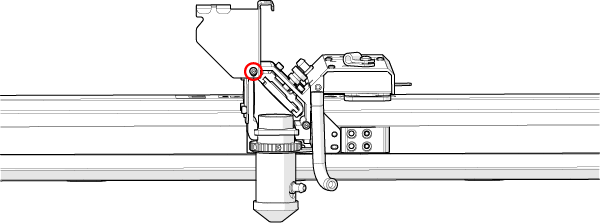
- Loosen lower right thumb screw on carriage optics cover.
- Slide optics cover up and tighten top left thumb screw to hold the cover in place.
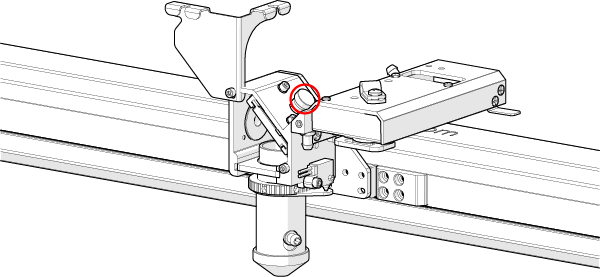
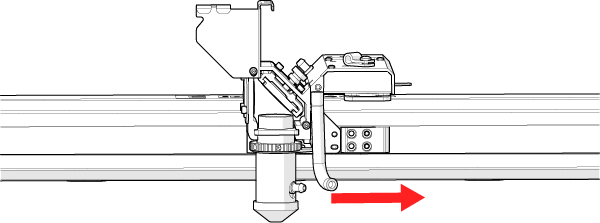
- Loosen the large thumb screw holding the mirror.
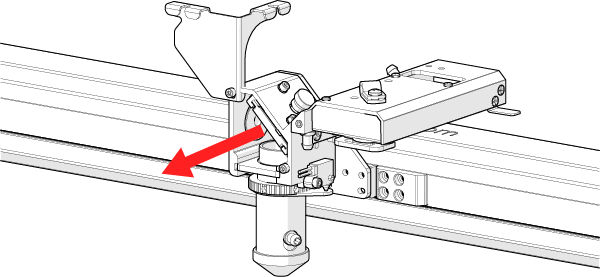
- Slide the mirror out.
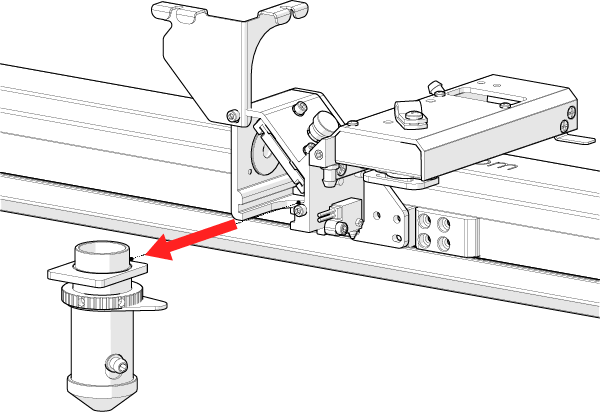
- Remove the rubber air assist tubing from the lens tube.
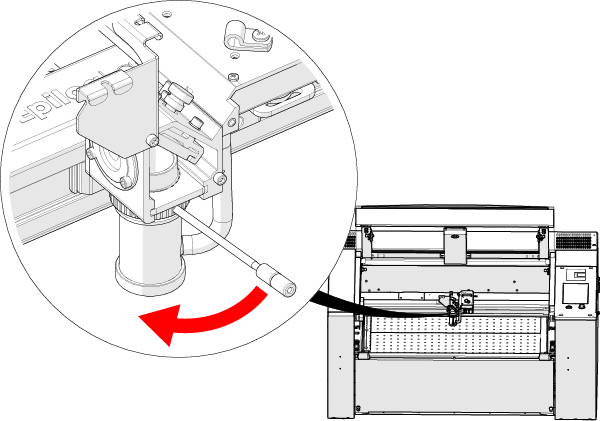
- Insert manual focus gauge into holes on lens clamp and turn to the left.
- Slide the lens tube out.
Installation
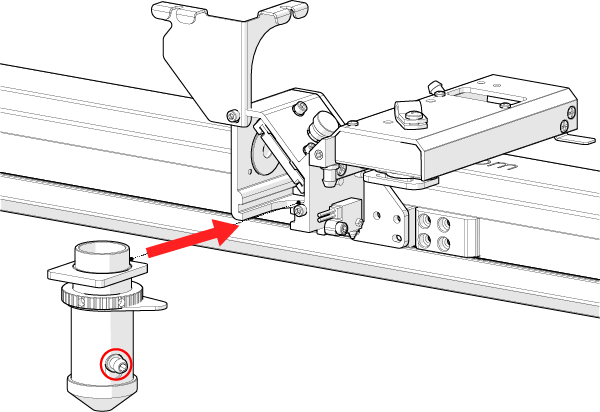
- Slide lens tube into slot on carriage. Make sure the brass fitting faces out.
2. Insert manual focus gauge into holes on lens clamp and turn to the right.

3. Attach rubber air hose to brass fitting.
4. Insert mirror into holder and tighten thumb screw.
5. Close optics cover and secure thumb screws.
Was this helpful?
Thanks for your feedback!
