Service and Repair

17000

Filters


Getting Started (8)
Usage and Operation (105)
Service and Repair (66)

Results: 66 items found
  • View:
Order by
Relevance

Filters


Getting Started (8)
Usage and Operation (105)
Service and Repair (66)

Air Assist Tubing Replacement – Fusion Maker, Edge, Pro 24 & 36
Pro 24, Pro 36

How do I replace the air assist tubing in the Fusion Maker, Edge, and Pro 24 and 36?

The Air Assist (AA) Tubing in your engraver plays a crucial role in ensuring optimal performance by directing a stream of air to the engraving area. Over time, this tubing may wear out or become damaged, necessitating a replacement. This guide provides a step-by-step process for safely removing and installing (...)
X-Axis Reducer Belt Replacement – Fusion Edge, Pro 24 & 36
Pro 24, Pro 36

How do I replace the x-axis reducer belt in the Fusion Edge and Pro 24 and 36?

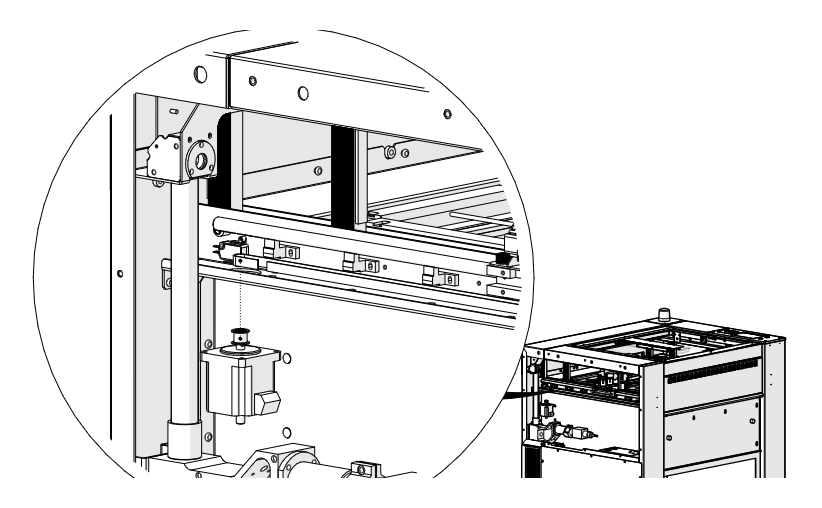
The X-Axis Reducer Belt is a crucial component in ensuring the smooth and precise movement of the engraving machine. Over time, it may require replacement due to wear and tear, ensuring that the engraver continues to perform at optimal efficiency. This guide provides step-by-step instructions for safely removing and installing (...)
X-Axis Assembly Replacement – Fusion Maker, Edge, Pro 24 & 36
Pro 24, Pro 36

How do I replace the x-axis assembly in the Fusion Maker, Edge, and Pro 24 and 36?

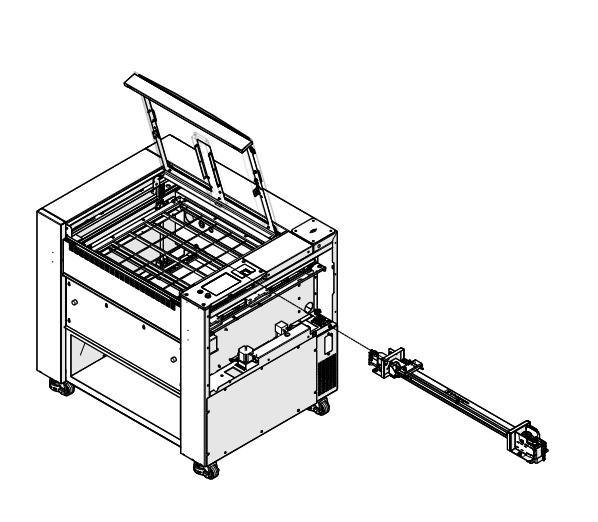
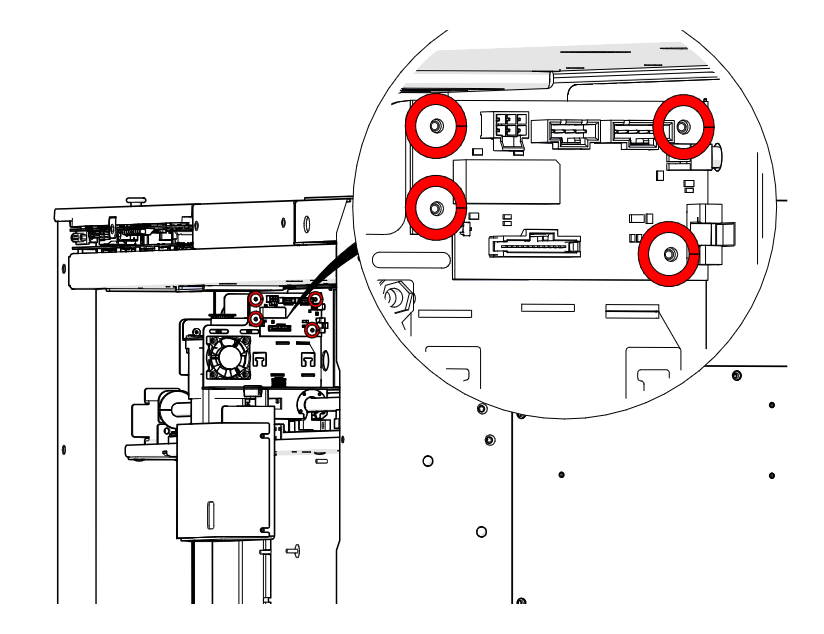
This guide covers replacing the complete x-axis assembly on the Fusion Maker, Fusion Edge and Fusion Pro 24 and 36. The x-axis assembly contains circuit boards, cameras and a motor, so after installation the carriage camera (Pro models) and the engraver peripherals are updated from the display. Parts Required X-axis (...)
Fusion Maker, Edge, Pro 24 & 36 – Linear Guide (Rev 1 IKO) Replacement

How do I replace the linear guide in the Fusion Maker, Edge, and Pro 24 and 36?

This document provides concise, step‑by‑step instructions for removing and installing the X‑Axis linear guide (IKO rail) on Fusion Edge, Maker, and Pro 24/36 engravers. Read the entire procedure before beginning, observe all safety precautions (power off and disconnect), and have the required hand tools ready. Follow each step in order (...)