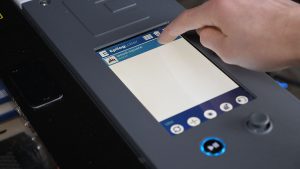
The Epilog Laser Pulse App revolutionizes laser processing by enabling you to send jobs directly to the laser from any browser. This process enhances efficiency and convenience. However, it’s necessary to establish communication between the computer and the laser before utilizing this application. Once connected, you can easily send and process jobs, simplifying your workflow and maximizing productivity.
Pulse System Compatibility
- Firmware version 1.1.0.2 or newer
- A modern web browser such as Edge, Safari, or Chrome
- Processor can be any Intel i3/i5/i7, AMD Ryzen 3/5/7, AMD A4/A6/A8/A10/A12/FX, or ARM
- Windows 7, Windows 8.1, Windows 10, Windows 11, or Mac OSX
Note: There are three ways to connect the laser to your computer: USB, Ethernet, or Wi-Fi. Please choose the connection that best suits your needs and follow the steps for that type of connection.
Getting Started
- Open a web browser window.
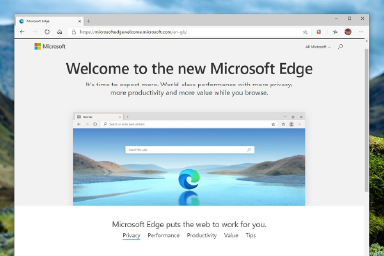
- In the address bar type http:// followed by the IP address of the laser. Example: http://192.168.3.4

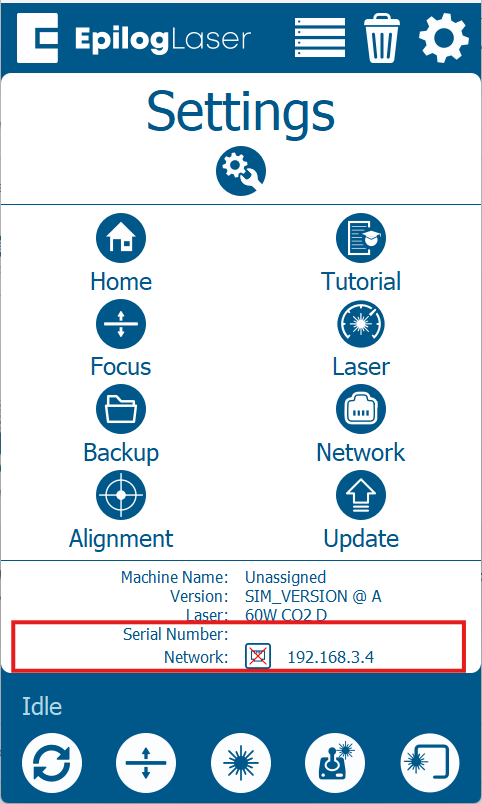
Note: You can find the IP address of the laser by clicking the gear icon in the top right corner of the display. The IP address will be listed at the bottom of the screen.
- Press Enter.
- The Pulse App will load in your web browser window.
- Select Open File.
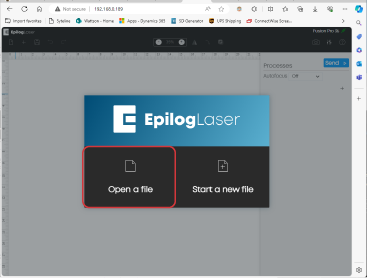
- Select a file and click Open.
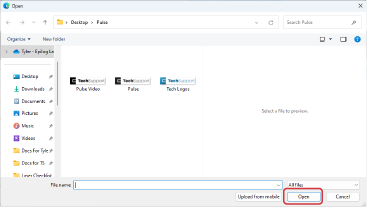
Note: Currently supported file formats are: SVG, GIF, BMP, JPEG, PNG, TIFF.
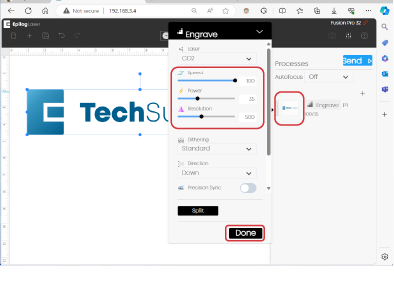
- Under Processes, on the right hand column, click the thumbnail for Engrave/Cut. Set the speed and power, click Done.
- Click Send.
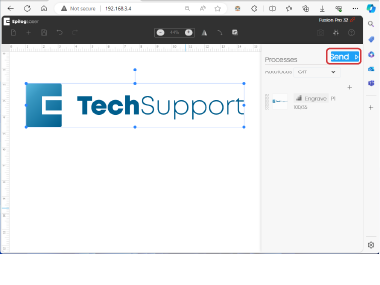
- The file should now be visible on the lasers display.

- Load your material.
- Select the job.
- Click the Play/Pause button on the laser to run the job.

