Introduction
The Air Assist (AA) Tubing in your engraver plays a crucial role in ensuring optimal performance by directing a stream of air to the engraving area. Over time, this tubing may wear out or become damaged, necessitating a replacement. This guide provides a step-by-step process for safely removing and installing new AA tubing on Edge and Pro series engravers. By following these instructions carefully, you can maintain the efficiency and longevity of your machine.
Air Assist Tubing Removal
- Turn off the engraver.
- Disconnect the engraver from the power source.
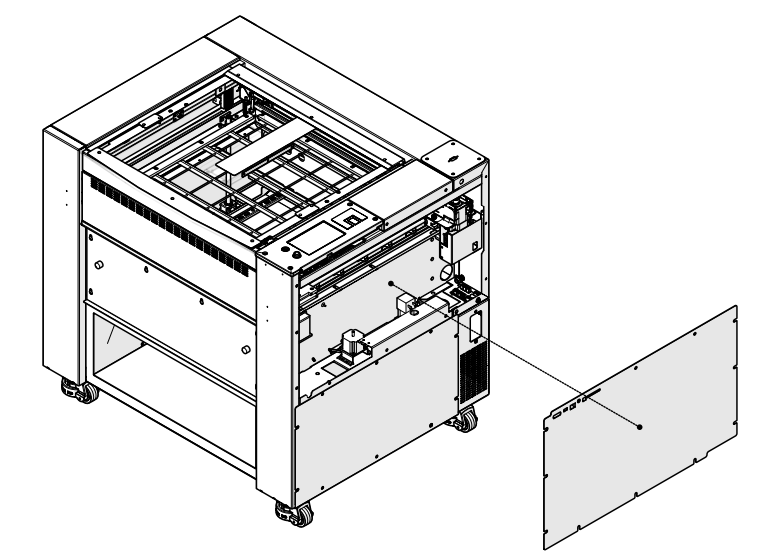
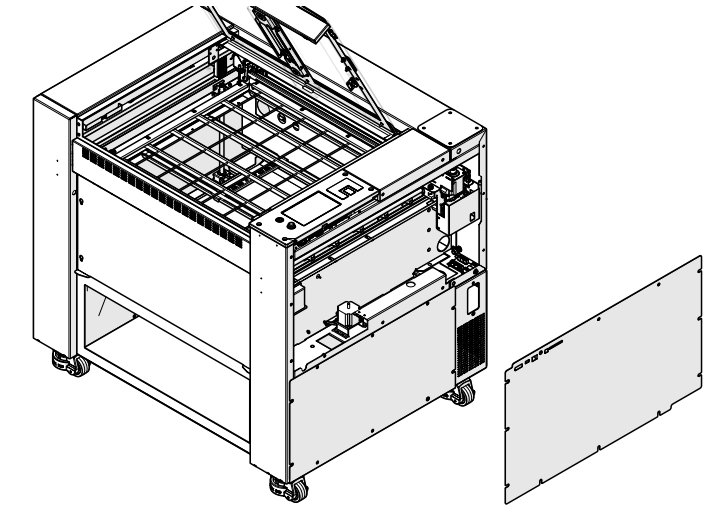
- Remove the right panel of the engraver.
- Open the top door of the engraver.
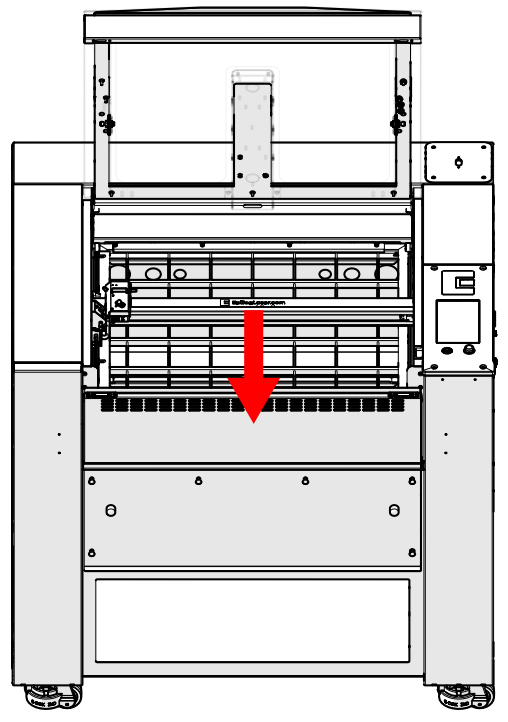
- Manually move the x-axis assembly to the middle of the engraver.
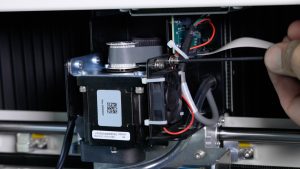
- Disconnect the autofocus switch electrical harness.
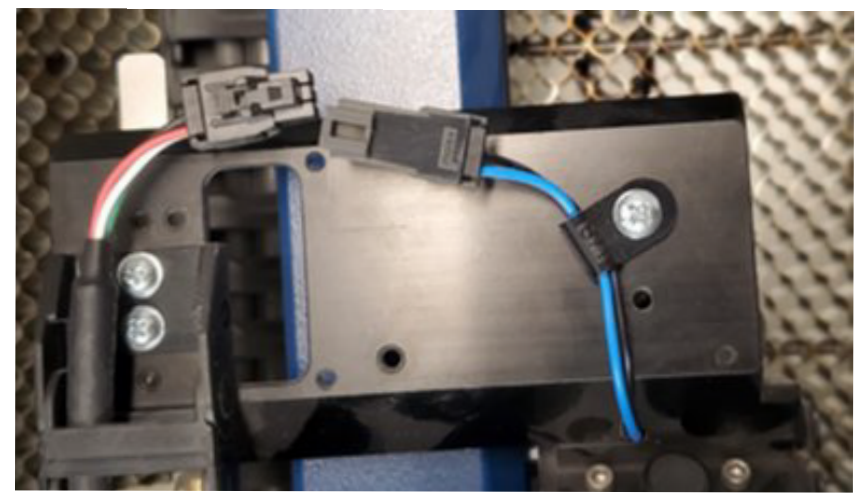
- Disconnect the air assist tubing from the camera bridge.
- Disconnect the electrical harness from the carriage camera PCB (Pro only).
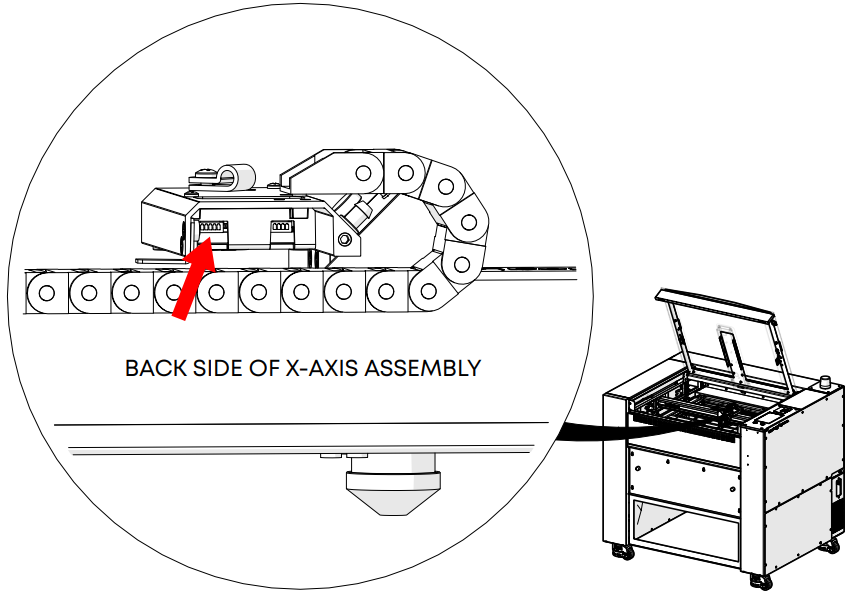
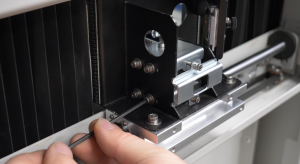
- Loosen and remove the two (2) Phillips screws that secure the cable track to the carriage assembly.
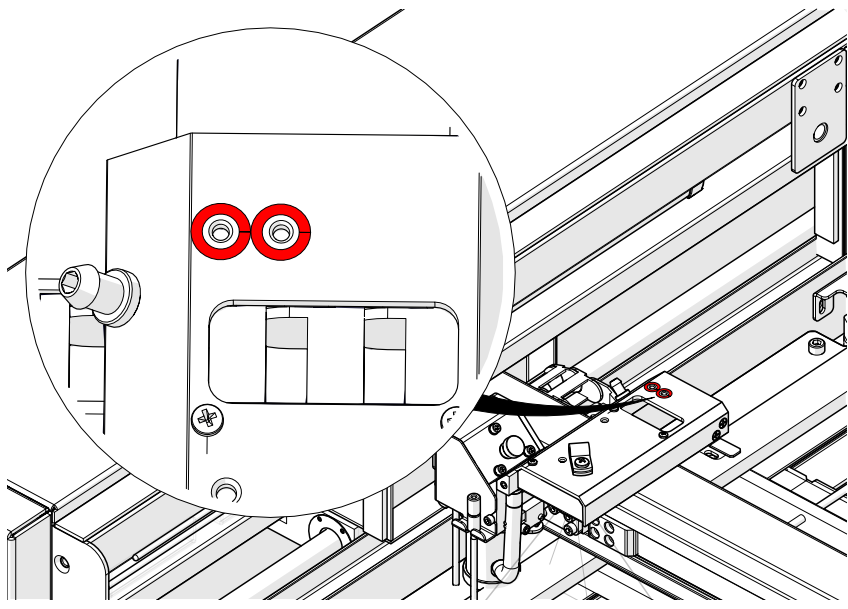
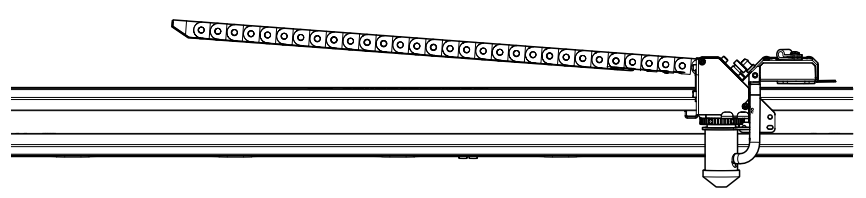
- Pull the cable track to the left side of the machine to straighten it.
-
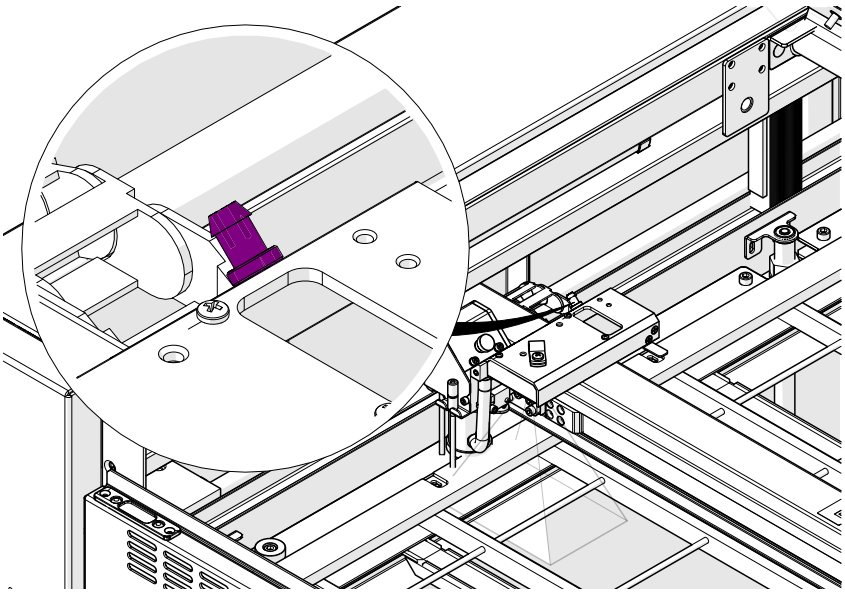
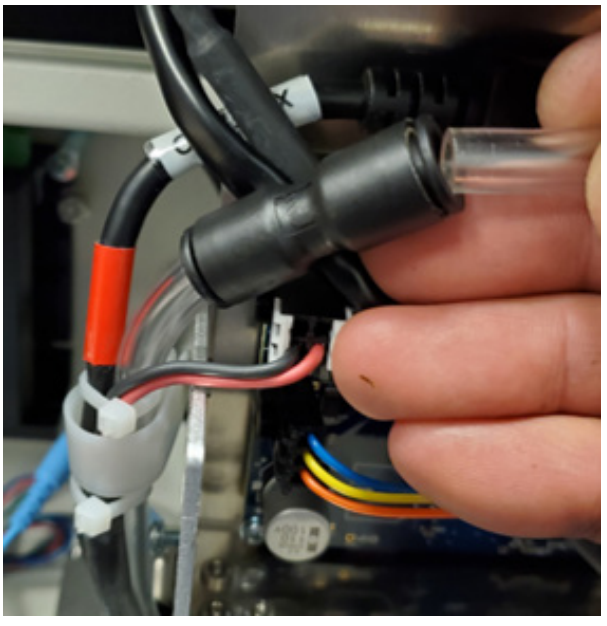
Disconnect the air assist tubing from the right side of the x-axis assembly.
Note: The AA tubing is held by a tubing coupler. To remove the tubing, press the tubing into the fixture. Then, while holding the retaining ring tight to the fixture, pull the AA tubing away from it
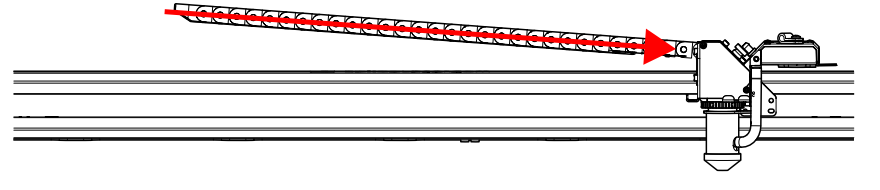
- Push and pull the air assist tubing towards the right side of the machine to guide it back out of the cable track.
Air Assist Tubing Installation
- Connect the air assist tubing to the right side of the x-axis assembly.
- Route the replacement AA tubing through the cable track.
- Curl the cable track into position and connect the air assist tubing to the camera bridge.
- Connect the USB cable to the carriage camera PCB (Pro only).
- Connect the autofocus switch electrical harness.
- Install and tighten the two (2) Phillips screws that secure the cable track to the carriage assembly.
- Replace the right panel of the engraver.
Was this helpful?
Thanks for your feedback!