Introduction
This guide provides step-by-step instructions for removing and installing the X-Axis reducer drive belt in a large-aperture Fusion Pro laser system. Follow each step carefully to ensure a safe and efficient procedure. Always disconnect power before beginning any maintenance.
Removal
-
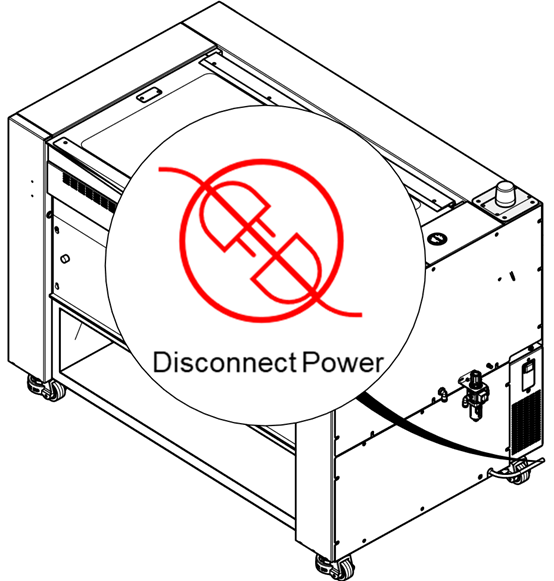
Power off the machine and disconnect the power cable.
-
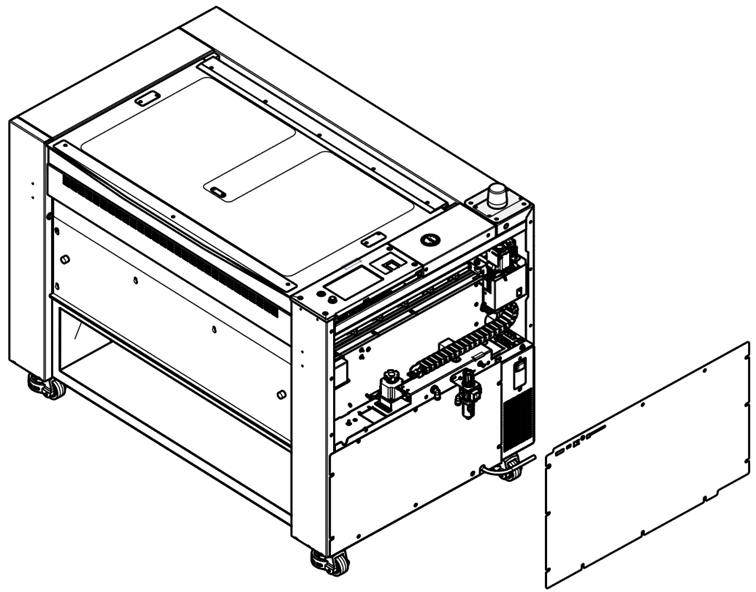
Remove the right side panel.
-
Move the X-Axis rail to the center of the machine.

-
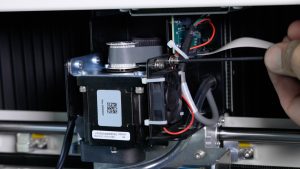
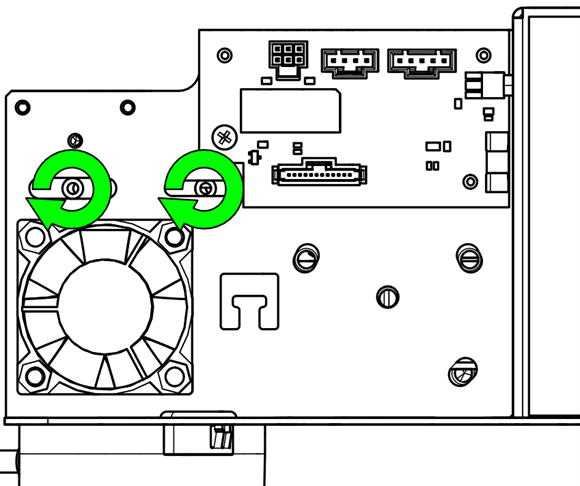
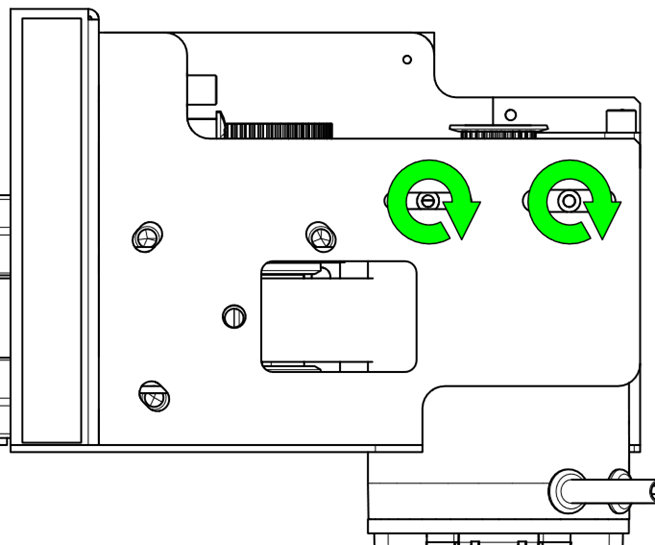
Loosen the motor mounting screws.
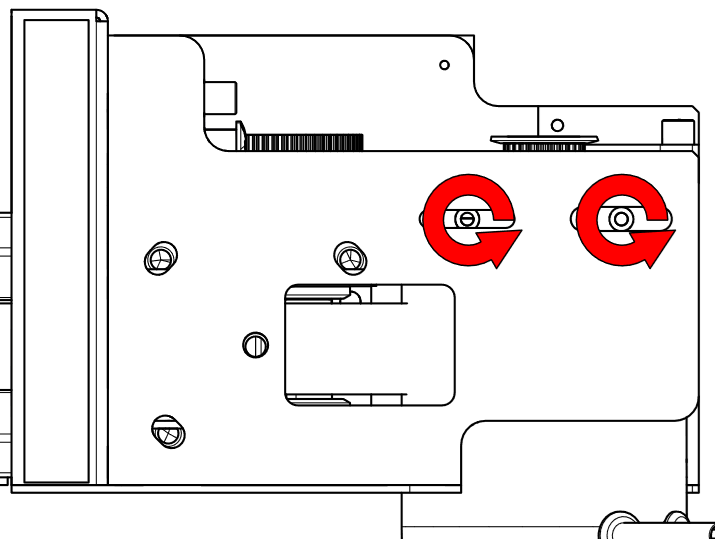
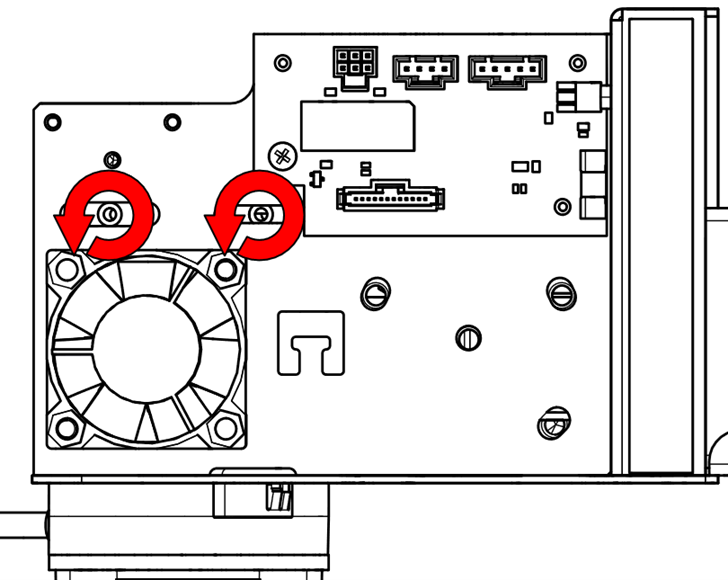
-
Loosen the motor tensioner screw.

-
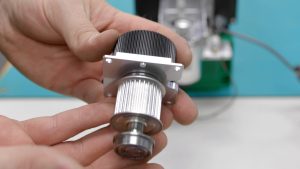
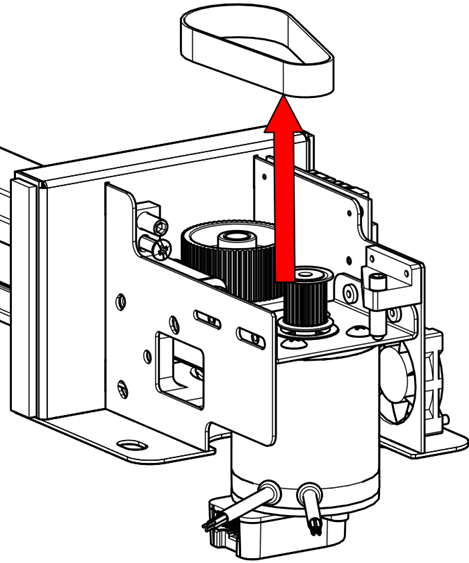
Remove the reducer belt.
Installation
-
Install the reducer belt onto the pulleys.
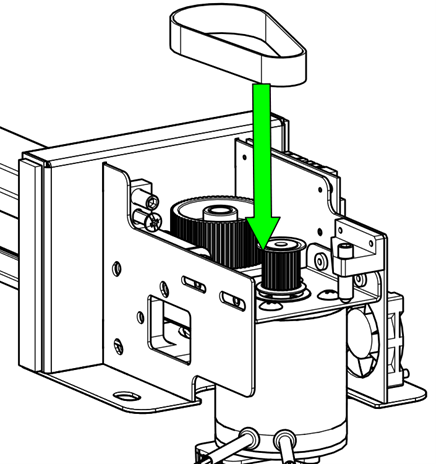
-
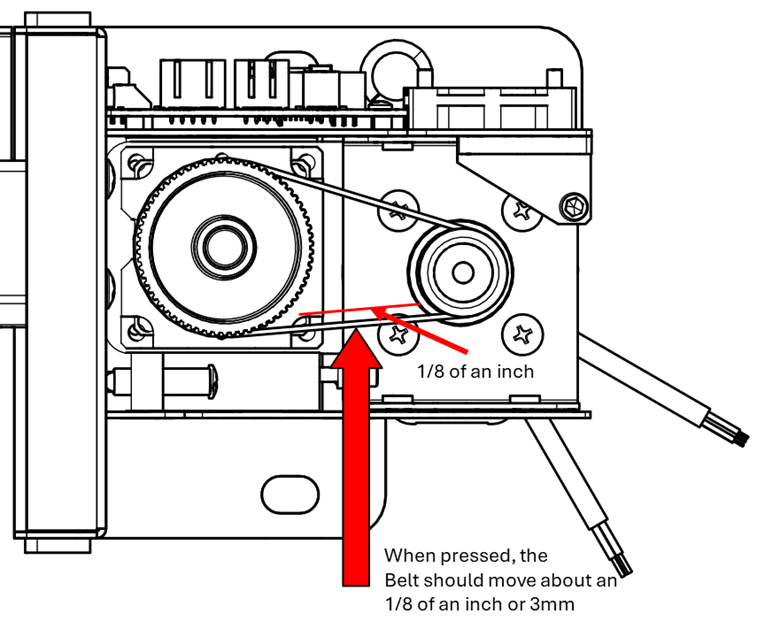
Apply appropriate tension to the belt.
Note: The belt should not be overly tight. When pressed from the side, it should deflect approximately 1/8″ (3mm).
-
Tighten the motor mounting screws securely.
-
Reinstall the right side panel.
Was this helpful?
Thanks for your feedback!