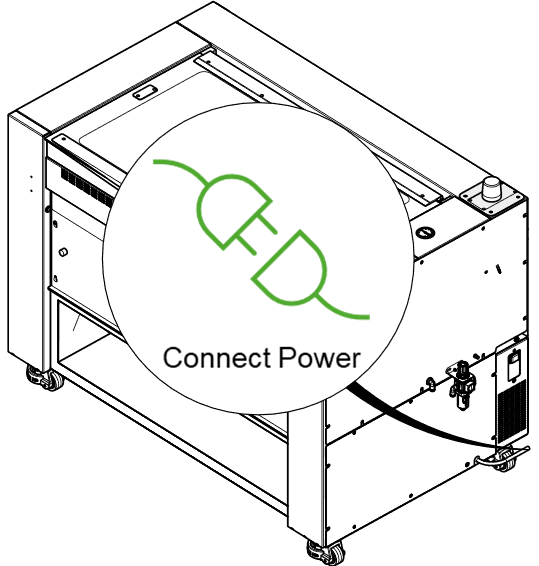
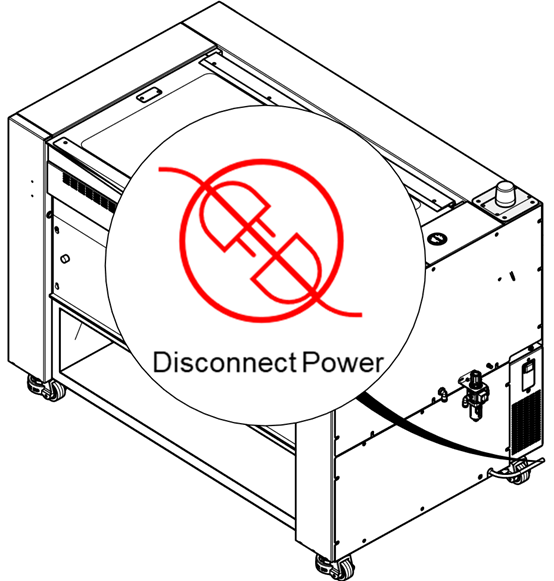
This guide provides step-by-step instructions for safely removing and replacing the X-Axis belt on a large-aperture Fusion Pro laser system. Follow each step carefully to ensure proper disassembly and reassembly of the components. Before beginning, power off the machine and disconnect the power cable to prevent injury or damage to the system.
Replacement Procedure
-
Power OFF the machine and disconnect the power cable.
-
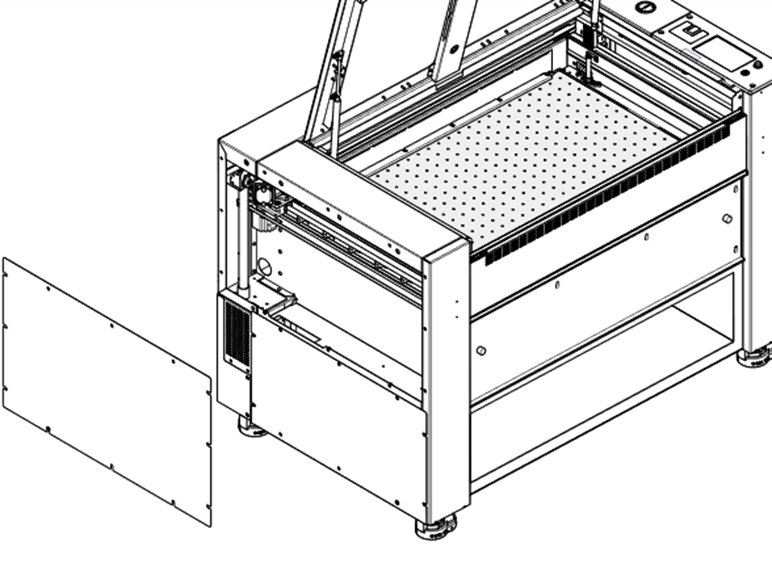
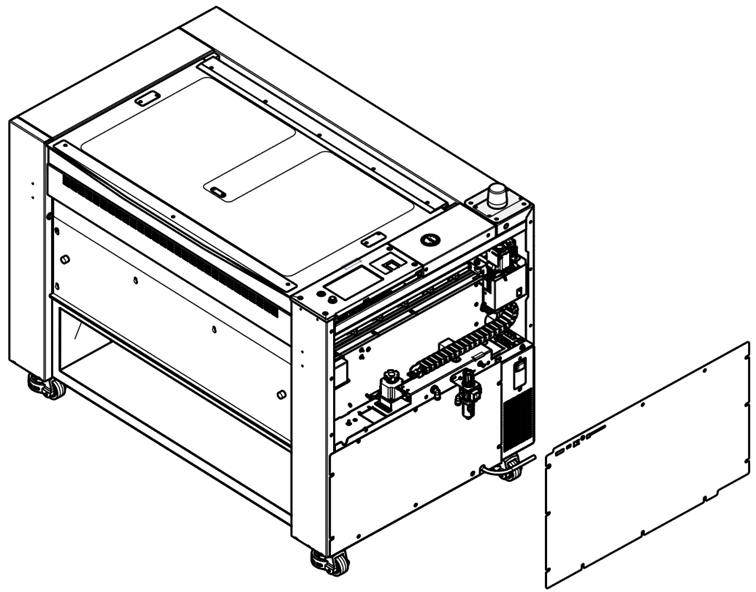
Remove the right and left side panels.
-
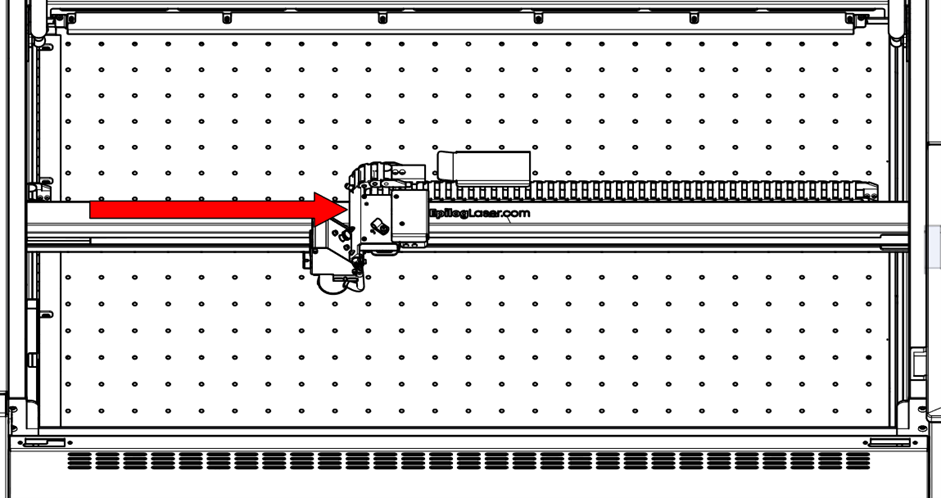
Move the X-Axis rail to the center of the machine.

-
Move the lens carriage to the center of the machine.
-
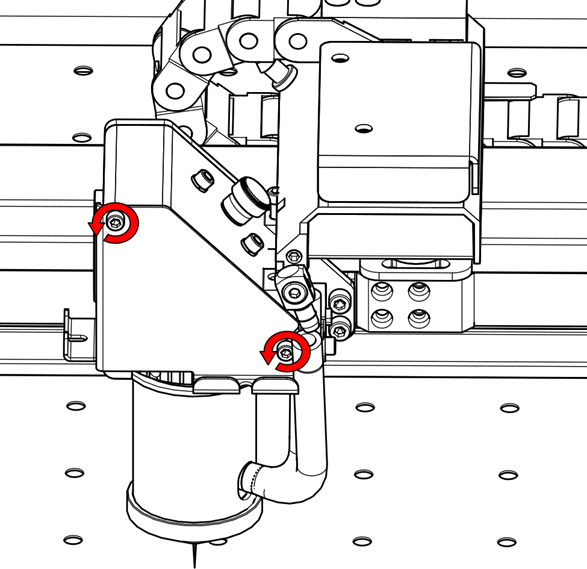
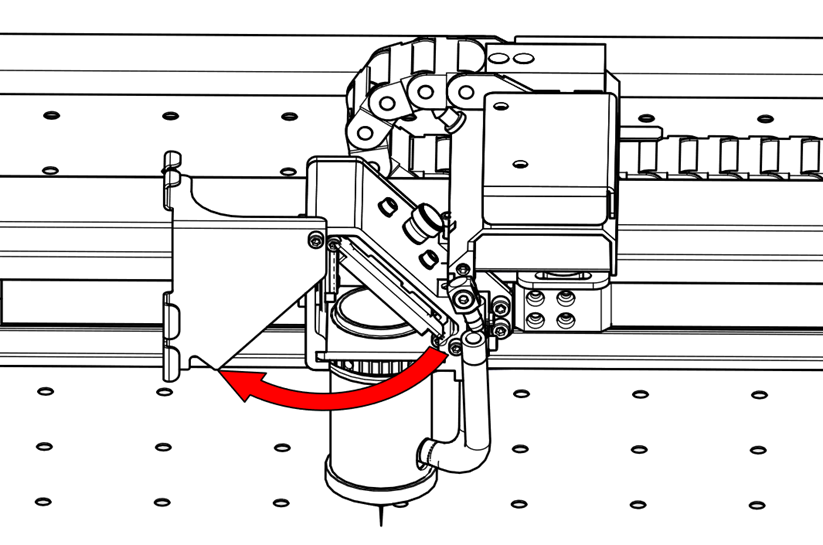
Loosen the thumb screws and open the carriage mirror cover.
-
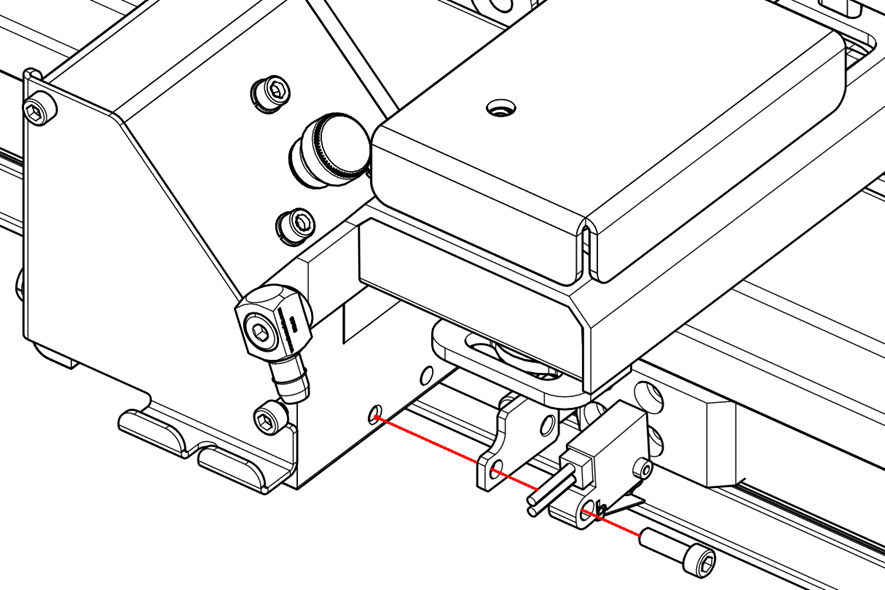
Disconnect the air assist tubing.
-
Remove the lens.

-
Close the carriage mirror cover.
-
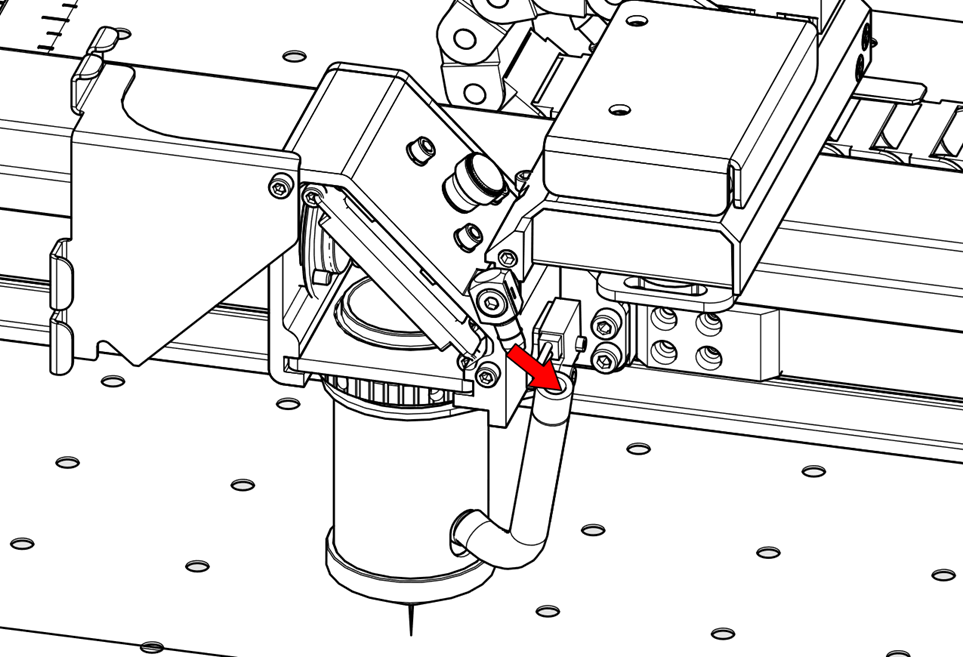
Remove the autofocus switch.
-
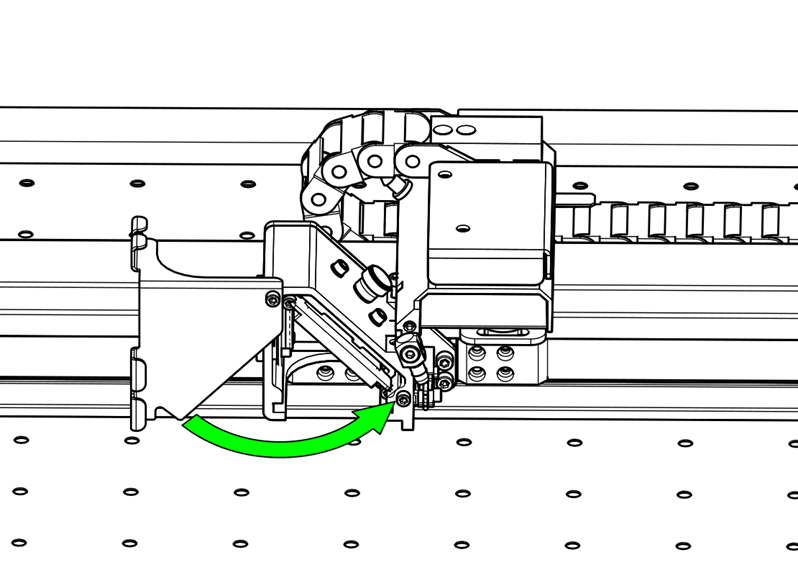
Move the carriage to the right and remove the carriage screws.
-
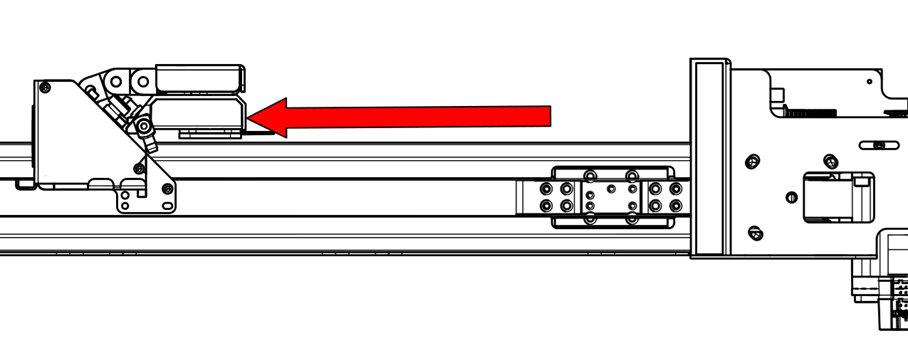
Move the carriage to the left.
-
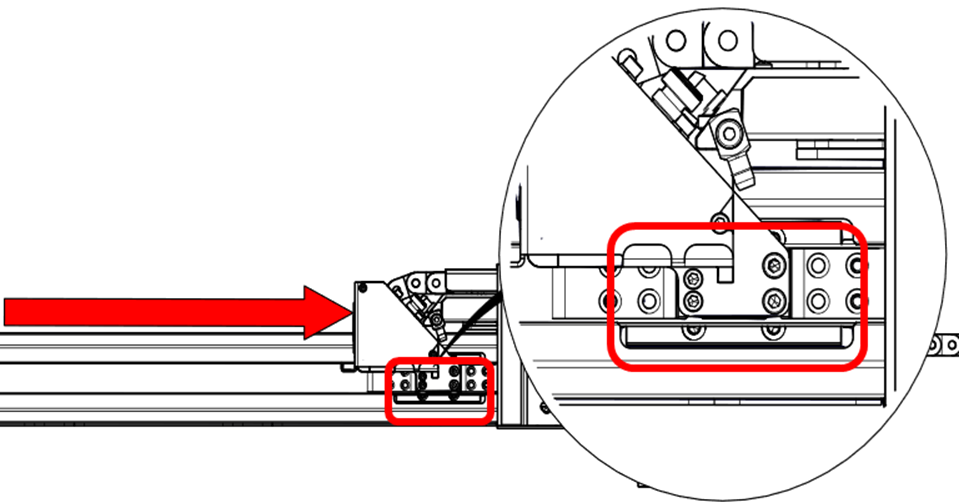
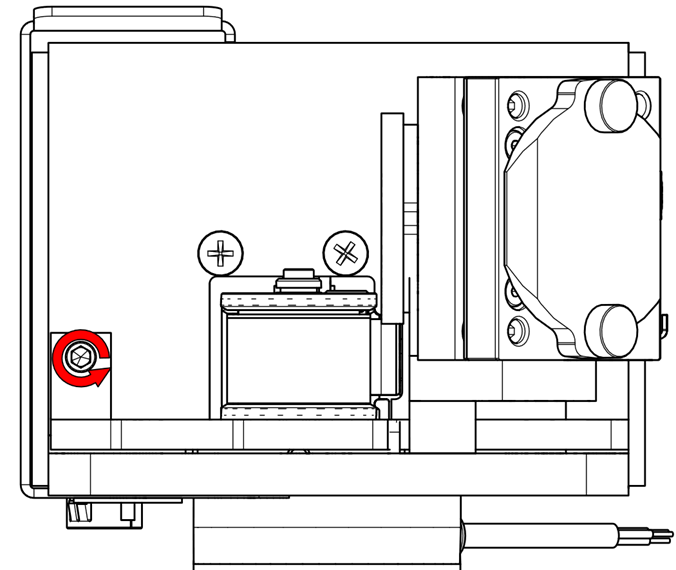
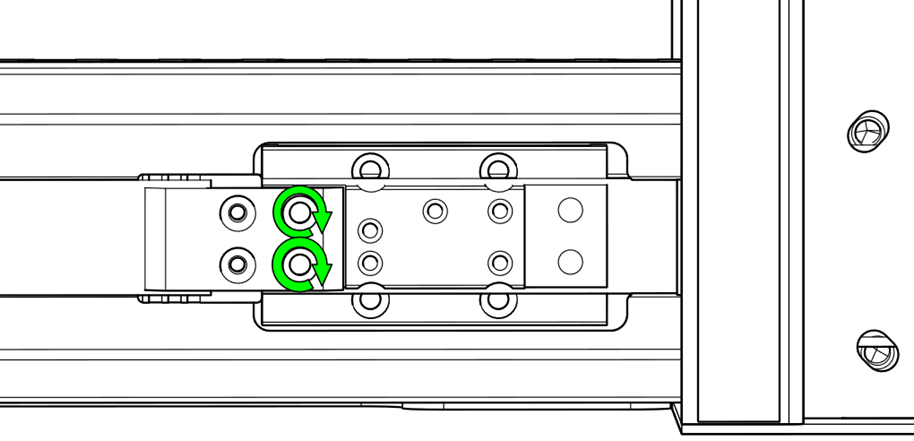
Loosen the belt tension bracket screws.

-
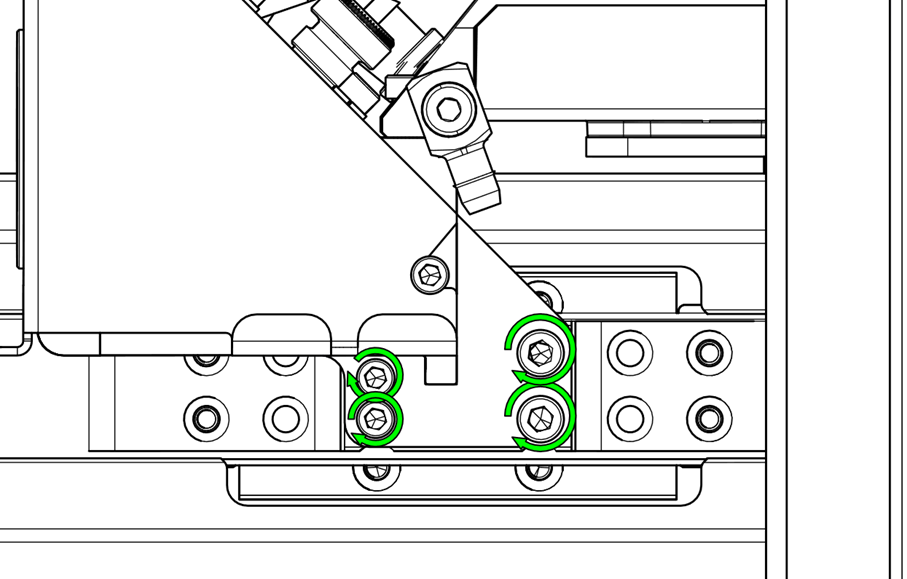
Loosen the tensioner screw.
-
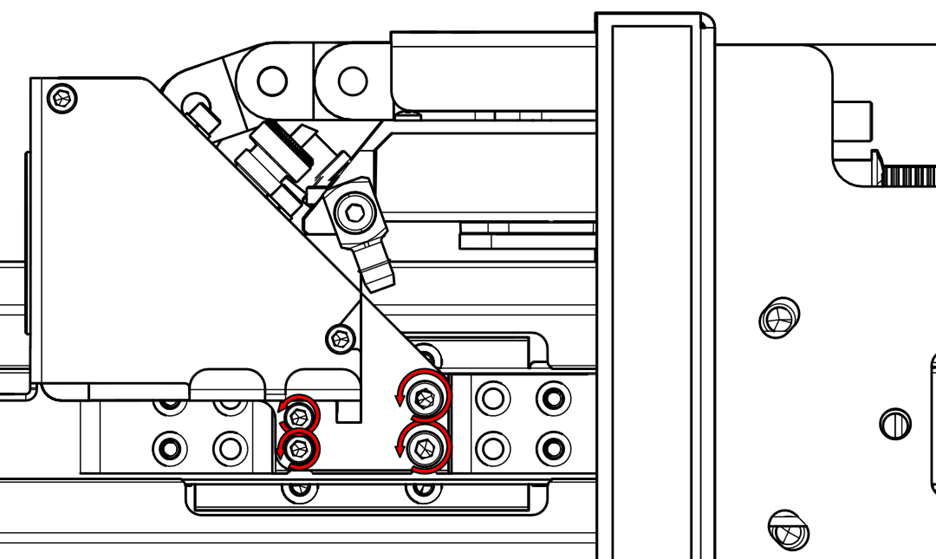
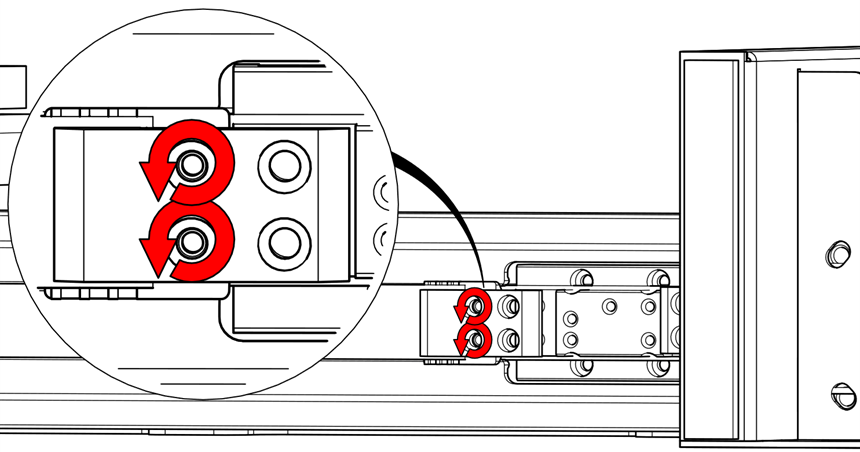
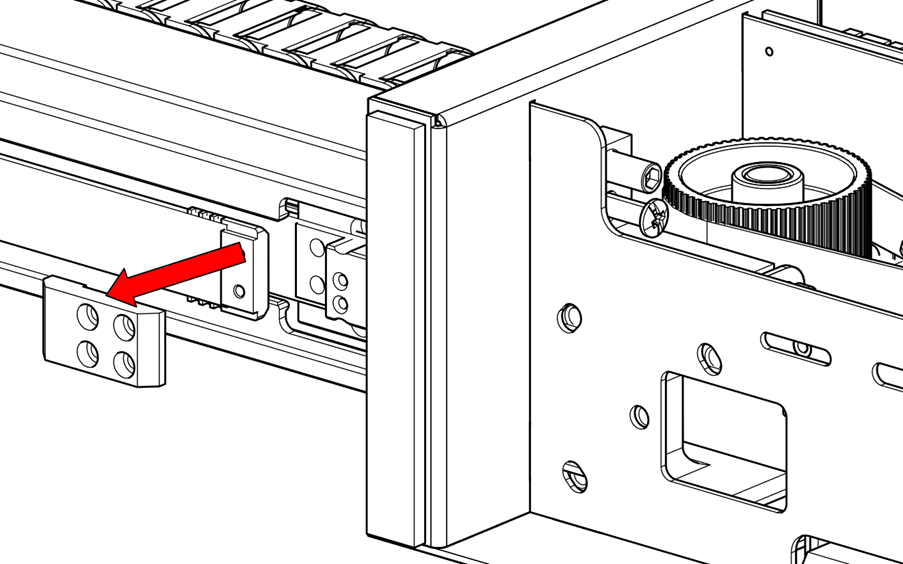
Remove the inner belt clamp screws.

-
Remove the outer belt clamp screws.
-
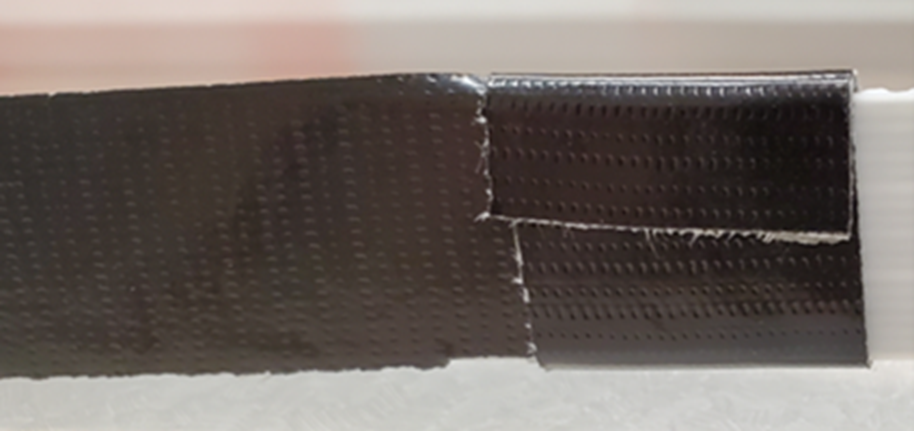
Use tape to attach the end of the new belt to the old belt.
-
Attach the belt clamp to the free end of the new belt.
-
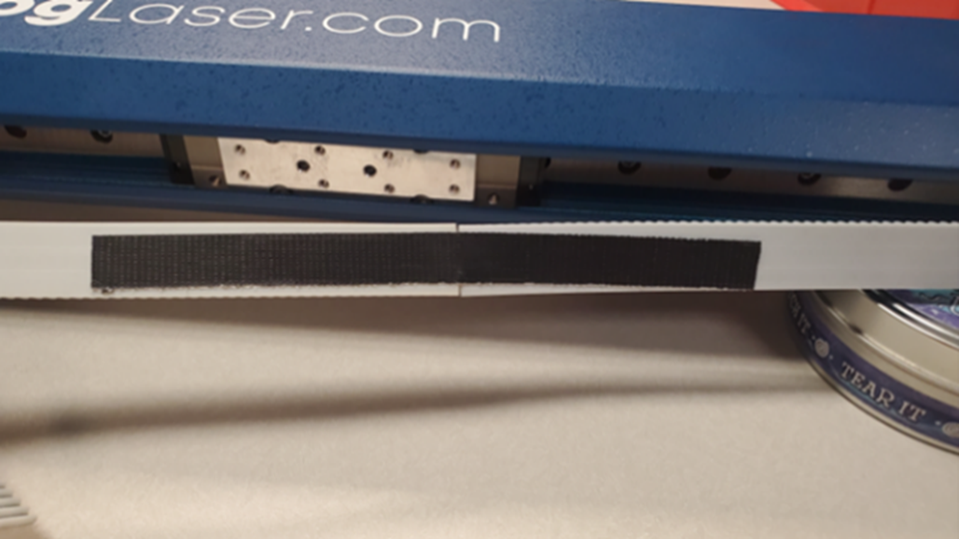
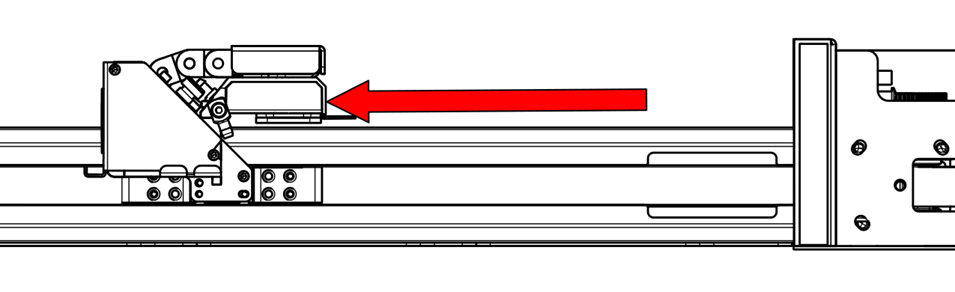
Gently pull the new belt through by guiding the old belt across the X-Axis rail.

-
Once the taped section appears on the right side, separate the belts and attach the clamp to the right-hand side of the new belt.
-
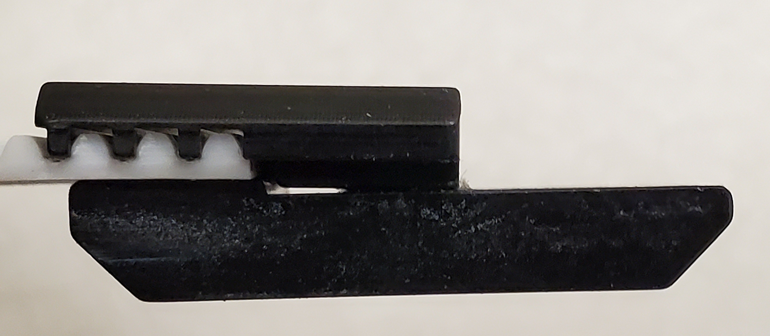
Attach the belt to the bearing block.

-
Move the carriage to the right and install the mounting hardware.

-
Move the carriage to the left.
-
Install the autofocus switch.

-
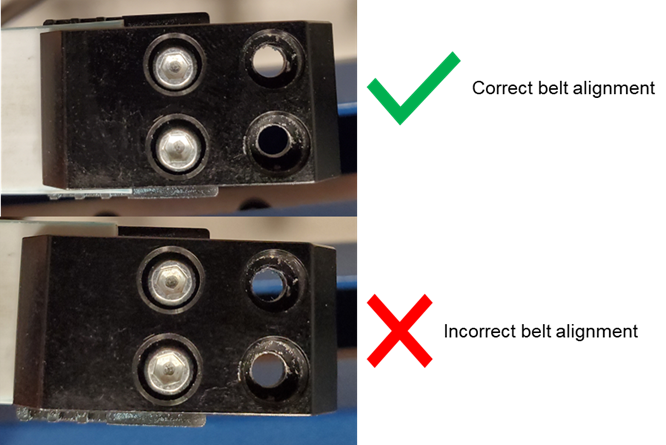
Important: Follow the Belt Tensioning Guide before installing the side panels.
-
Install the right and left side panels.
-
Reconnect the power cable.