
Autofocus Switch Replacement – Pro 48 (Large Aperture)

X-Axis :


Introduction

This guide provides step-by-step instructions for replacing the Autofocus Switch in a large aperture Fusion Pro 48 laser system. It includes all necessary removal and installation steps, along with the required tools and parts. Be sure to follow safety precautions and power off the machine before beginning any maintenance work.

Removal

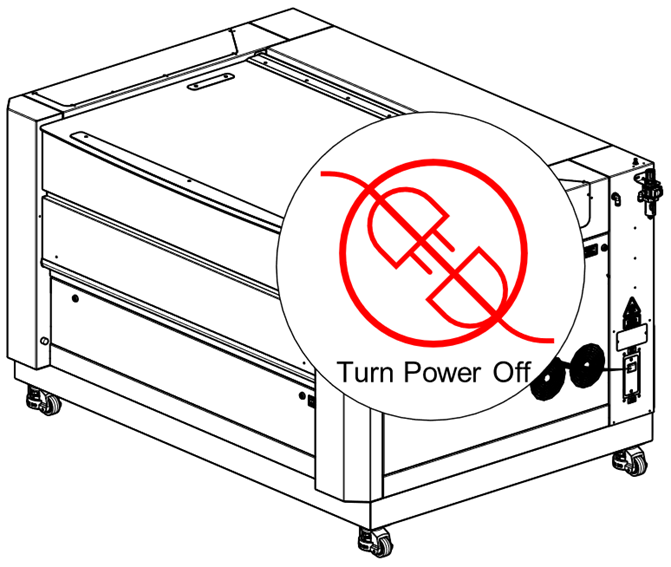
  1. Power off the machine and disconnect the power cable.

    Powering off and unplugging the Fusion Pro 48 laser system

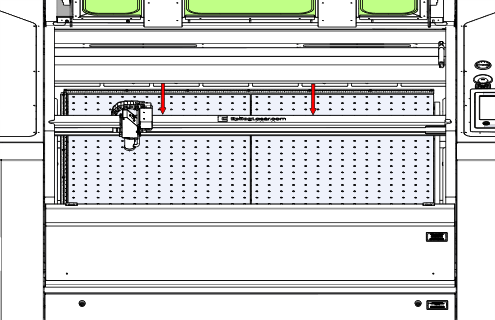
  2. Move the X-Axis rail to the center of the machine.

    X-axis rail centered in Fusion Pro 48

  3. Move the carriage to the center of the machine.

    Carriage positioned at center of X-axis rail

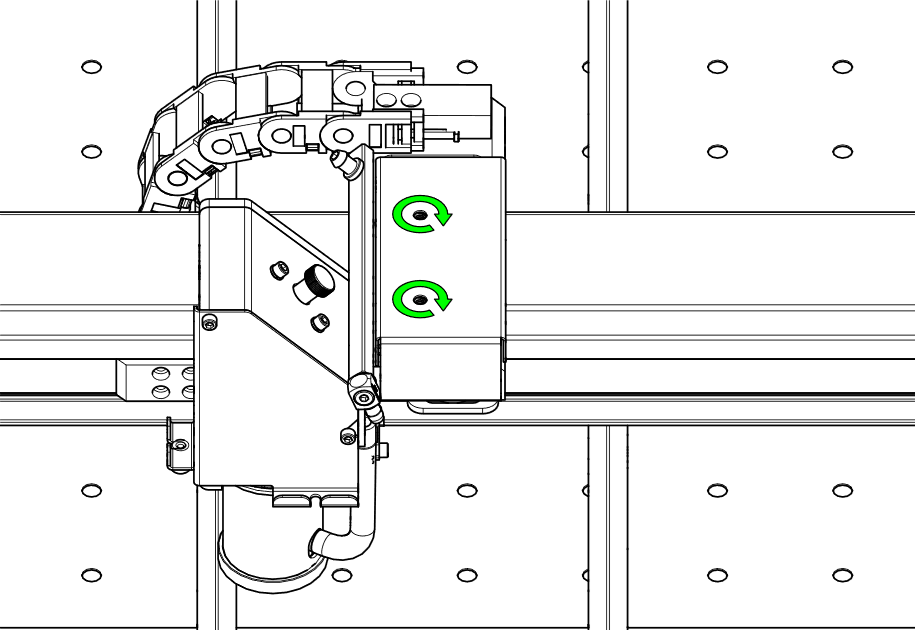
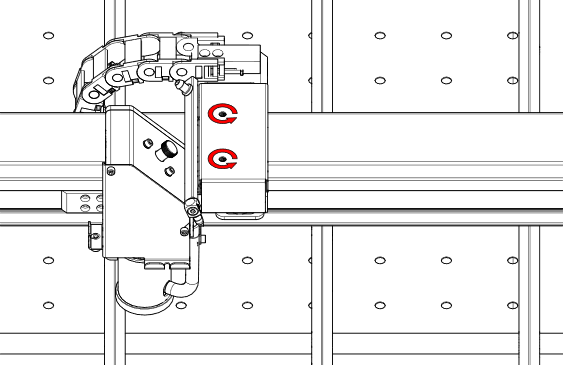
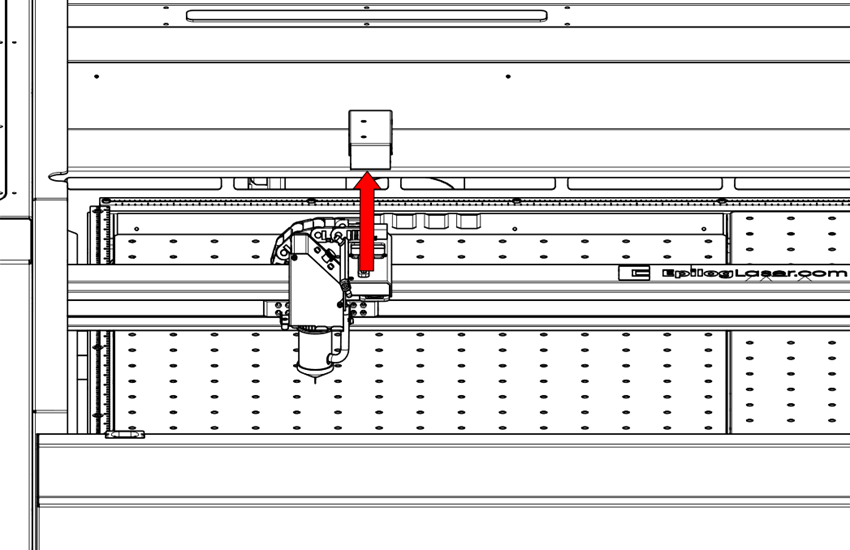
  4. Remove the carriage camera cover.

    Removing carriage camera cover – front view
    Removing carriage camera cover – side view

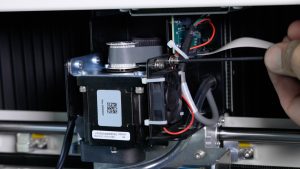
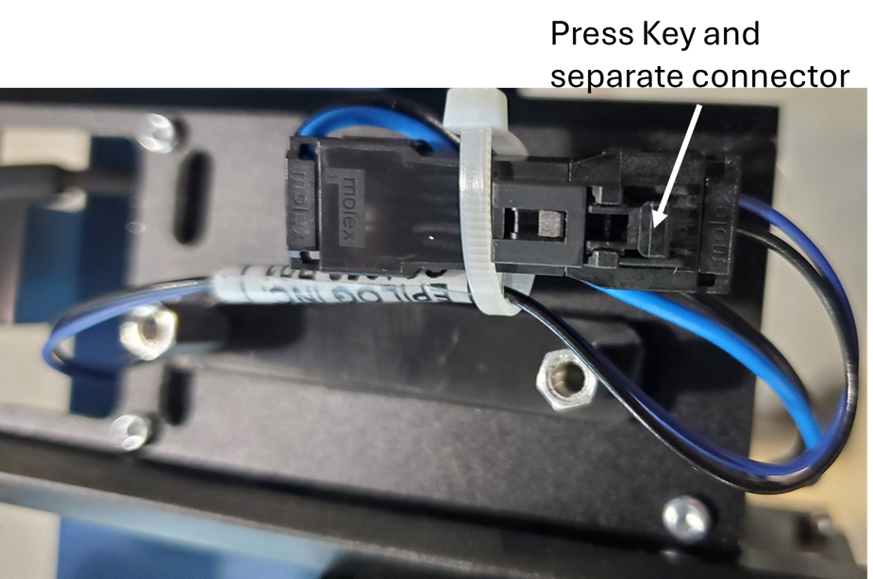
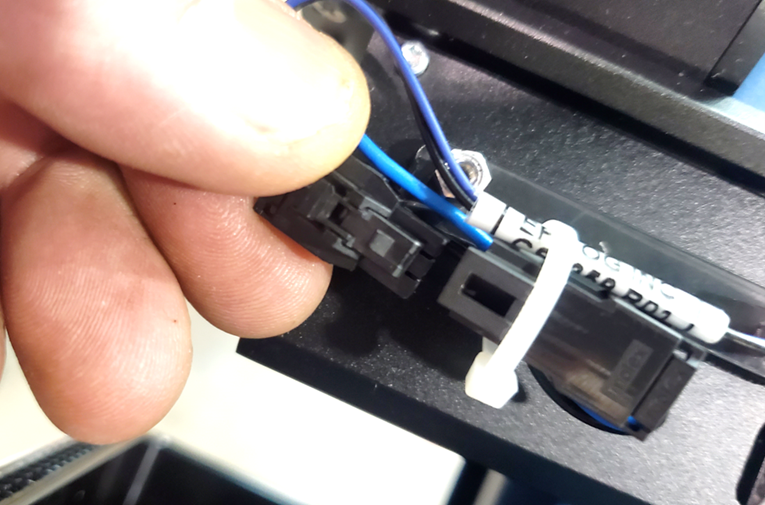
  5. Disconnect the electrical harness to the Autofocus Switch.

    Disconnecting Autofocus Switch electrical harness

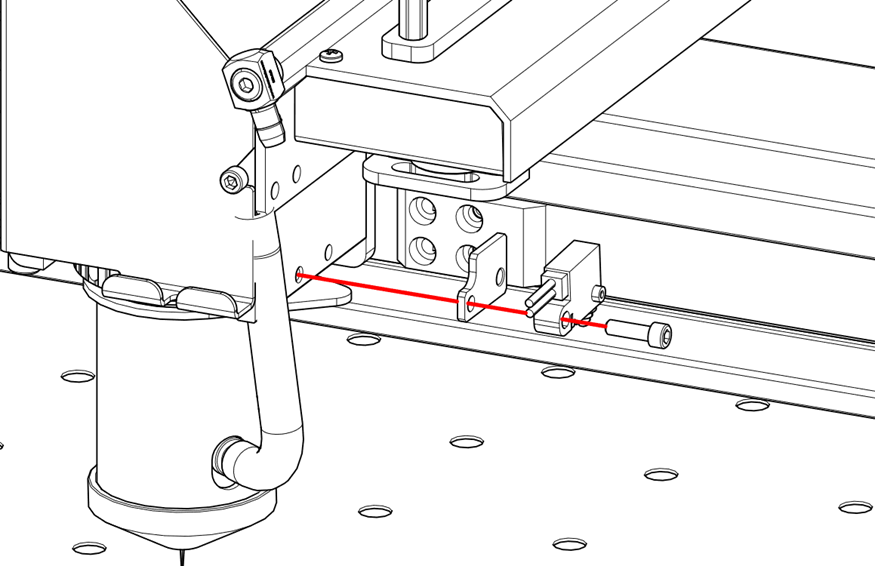
  6. Remove the screw securing the Autofocus Switch.

    Removing Autofocus Switch screw from carriage

Installation

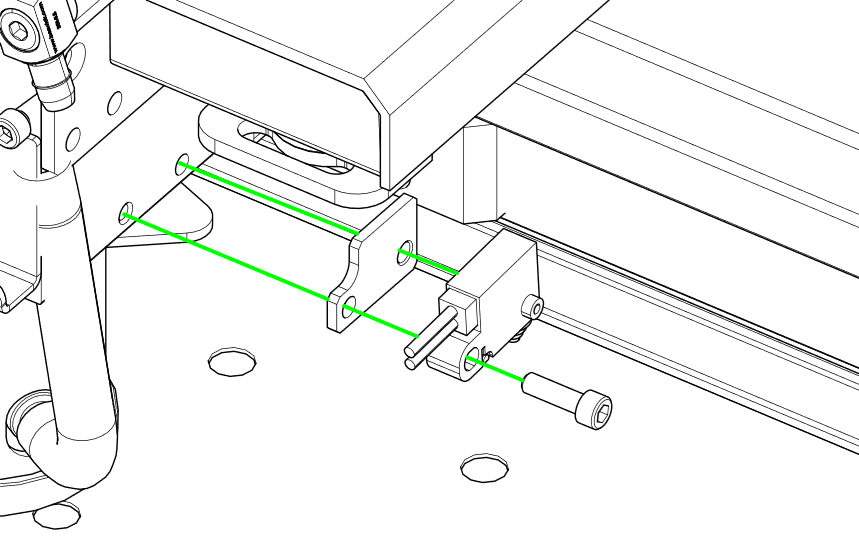
  1. Install the Autofocus Switch onto the carriage.

    Installing Autofocus Switch on Fusion Pro 48 carriage

  2. Reconnect the electrical harness to the Autofocus Switch.

    Reconnecting Autofocus Switch electrical harness

  3. Reattach the carriage camera cover.

    Attaching carriage camera cover – front view
    Attaching carriage camera cover – top view

  • ID:
    KA-01681
  • Date:
    05/30/2025

Tools:

  • Phillips Screwdriver
  • 3/32" Hex Wrench

Parts & Resources:

  • LC1352-TS Autofocus Switch