The X-Axis Air Assist (AA) Tubing Replacement process for the Fusion Pro 32 and 48 engravers ensures proper air flow during operation. Over time, the tubing may wear out and require replacement to maintain optimal performance. This guide provides step-by-step instructions on how to safely remove and install new AA tubing using the required tools and materials. By following these procedures, users can help ensure their engraver continues to function efficiently.
X-Axis AA Tubing Removal
- Turn off the engraver.
- Disconnect engraver from power source.
- Remove the right panel of the engraver.
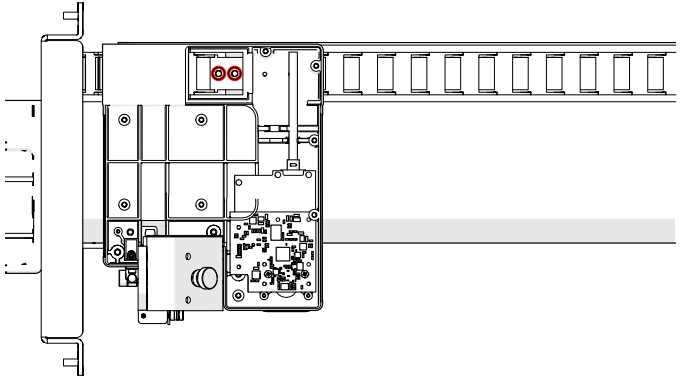
- Remove the nine (9) Torx screws that secure the carriage assembly cover and remove the cover.
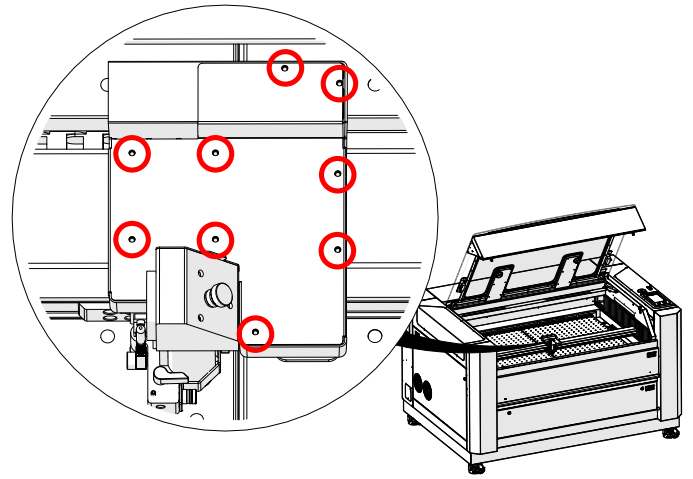
- Remove the carriage cover.
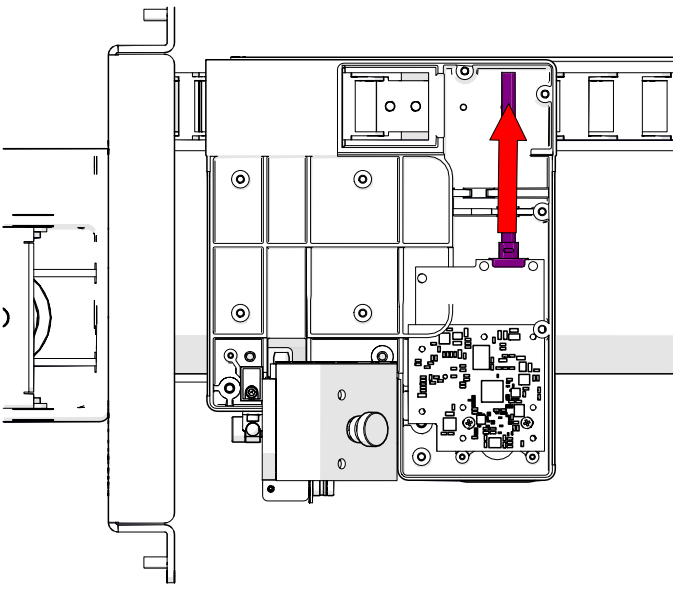
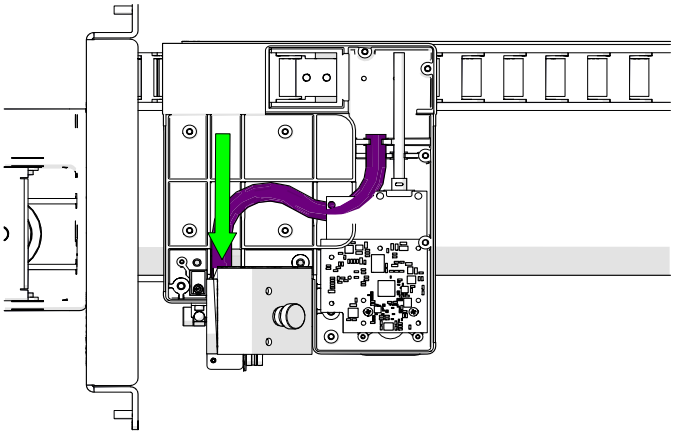
- Disconnect the AA tubing from the connector on the carriage assembly.
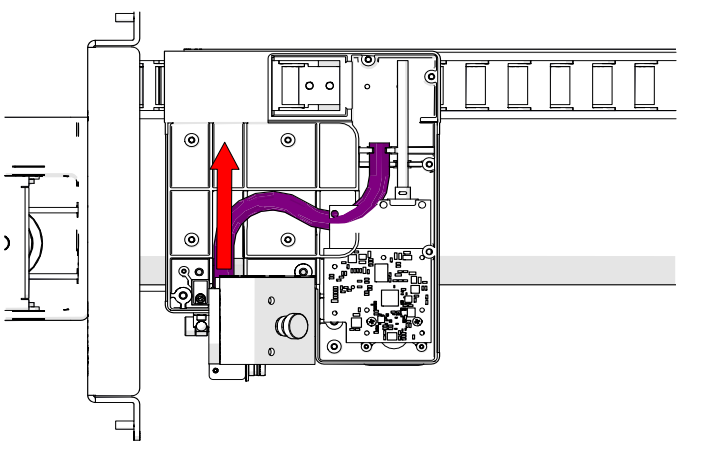
- Disconnect the lens camera PCB USB cable.
- Loosen and remove the two (2) Phillips screws that secure the cable track to the rear of the x-axis assembly.
- Pull the cable track to the left side of the machine to straighten it.
-
Pull the AA tubing towards the right side of the machine to remove it from the cable track.
Note: The AA tubing and carriage camera USB cable may be ziptied to the x-axis assembly in certain points. If this is the case, remove the zipties and replace them once the installation of the AA tubing is complete. Take care not to over-tighten the zipties.
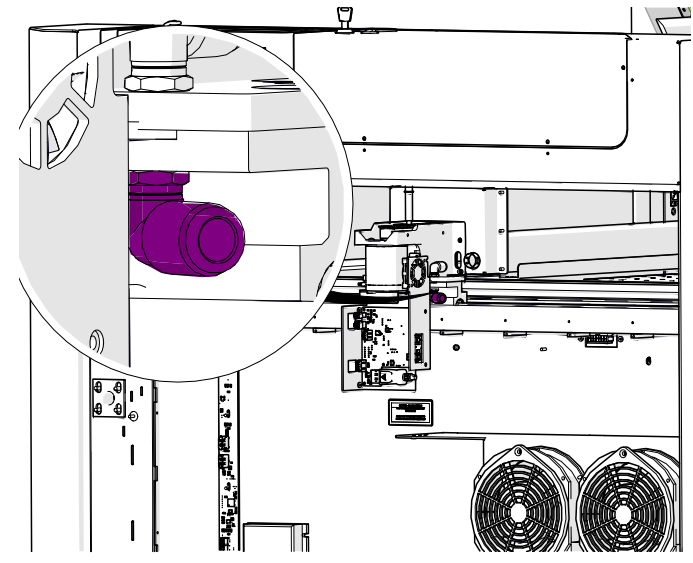
- Disconnect the AA tubing from the elbow connector at right side of the x-axis assembly.
- Remove the AA tubing from the engraver.
X-Axis AA Tubing Installation
- Connect the AA tubing to the elbow connector at right side of the x-axis assembly.
- Route the AA tubing through the opening on the right side of the x-axis assembly.
- Insert the AA tubing into the right side of the cable track and push it towards the left side.
- Place the cable track into position and tighten the two (2) Phillips screws that secure the cable track to the rear of the x-axis assembly.
- Connect the camera board USB cable.
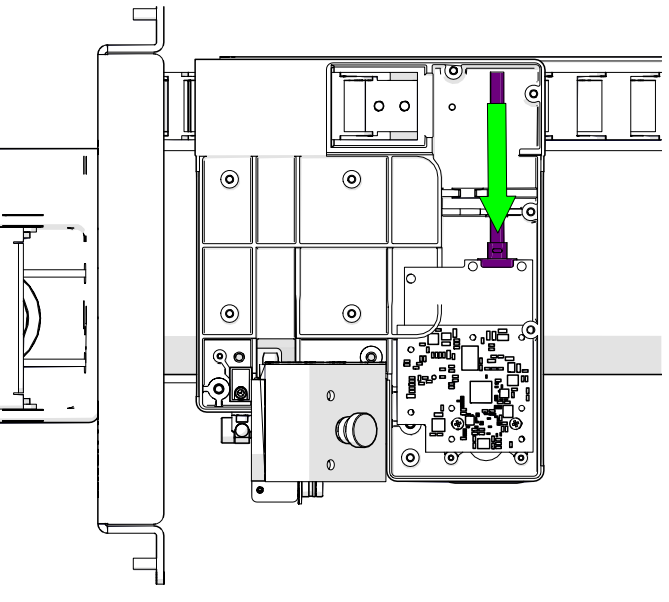
- Connect the AA tubing to the connector on the carriage assembly.
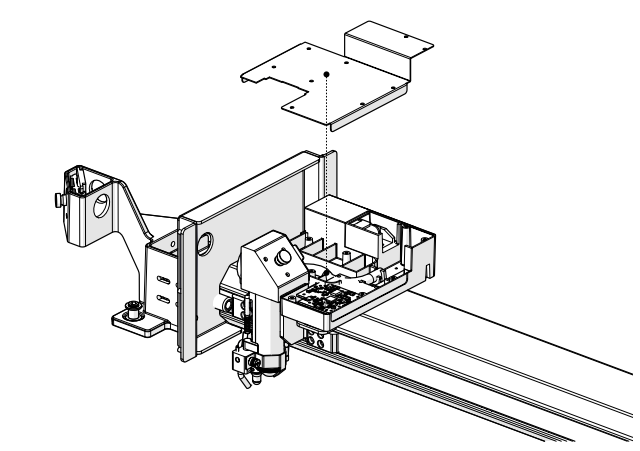
- Install the carriage cover
. - Install and tighten the nine (9) Torx screws on the carriage cover.
- Replace the right panel of the engraver.