Estimated time: 15–20 minutes • Skill: Beginner
This procedure will guide you through the process of removing and replacing the Autofocus Plunger (AFP) assembly on your laser system. The AFP is a critical component used to automatically set the correct focus distance between the laser head and the material surface. Replacing a damaged or malfunctioning AFP ensures consistent engraving quality and reliable autofocus performance.
AFP Removal
-
Power down and disconnect the machine.
Turn off the engraver and unplug it from the power source. -
Remove the carriage cover.
Loosen and remove the nine (9) Torx screws securing the carriage assembly cover, then lift the cover off to expose the AFP assembly.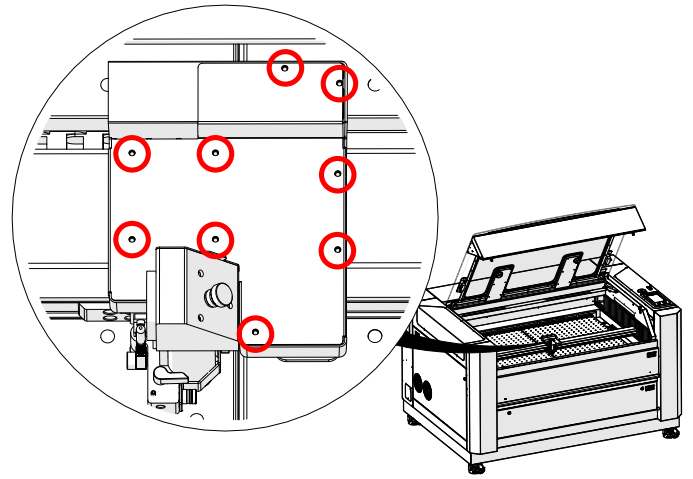
Image 1: Torx screw locations securing the carriage cover.
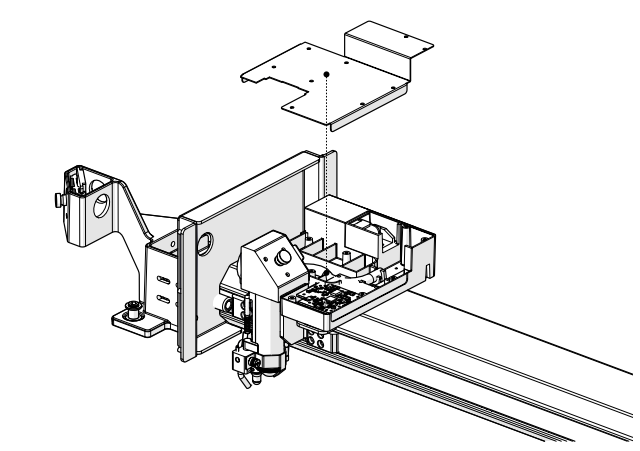
Image 2: Carriage cover removed, exposing the AFP assembly.
-
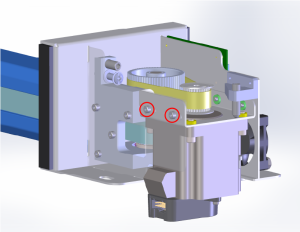
Remove the AFP magnet block.
Using a 5/64” Allen wrench, loosen and remove the one (1) screw securing the AFP magnet block.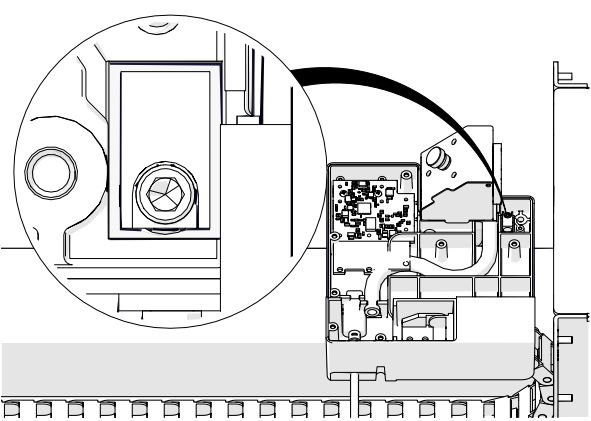
Image 3: Removing the AFP magnet block screw.
-
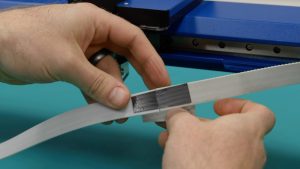
Remove the AFP assembly.
Pull the AFP shaft downward and lift the AFP magnet block upward to remove the AFP assembly completely.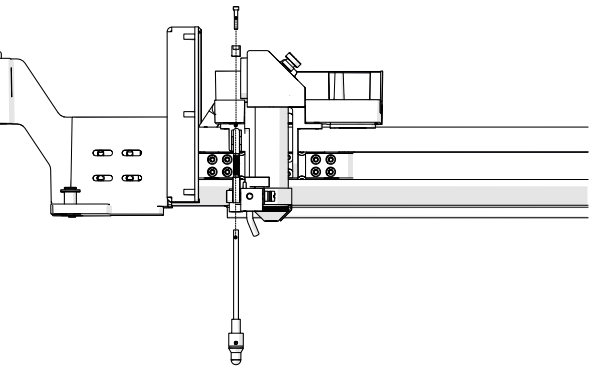
Image 4: Removing the AFP assembly from the carriage.
AFP Installation
-
Install the AFP assembly.
Insert the AFP shaft into the opening at the bottom of the carriage assembly. Position the AFP magnet block on top of the shaft and secure it with the one (1) 5/64” Allen screw.
Image 5: Installing the AFP assembly.
-
Orient the magnet correctly.
Ensure the magnet faces the back of the engraver before tightening the screw.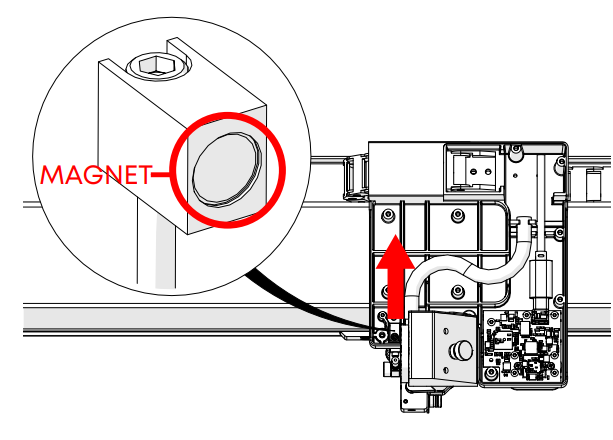
Image 6: Correct magnet orientation.
Important: Incorrect magnet orientation will prevent the AFP from returning to its resting position.
Testing the AFP
-
Test the plunger movement.
Press up on the AFP and release it. The plunger should quickly return to its resting position. If it does not, verify the magnet block is seated correctly and not crooked.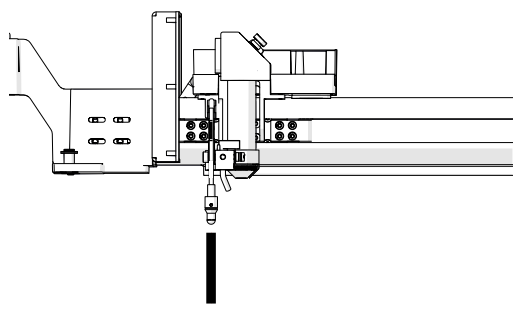
Image 7: Testing the AFP plunger motion.
-
Power on the engraver.
Reconnect the power cable and turn the engraver back on. -
Open the Settings menu.
On the display panel, press the gear icon in the upper-right corner to open the Settings menu.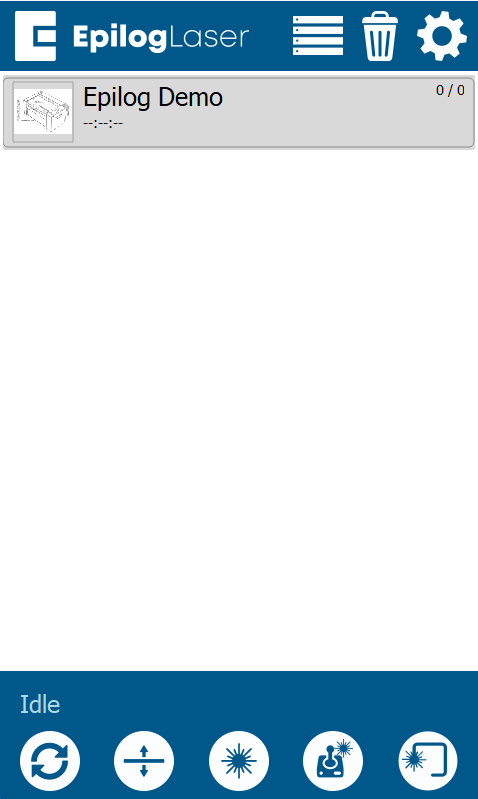
Image 8: Accessing the Settings menu.
-
Access Focus Settings.
Press“Focus” on the display to access the Focus Menu.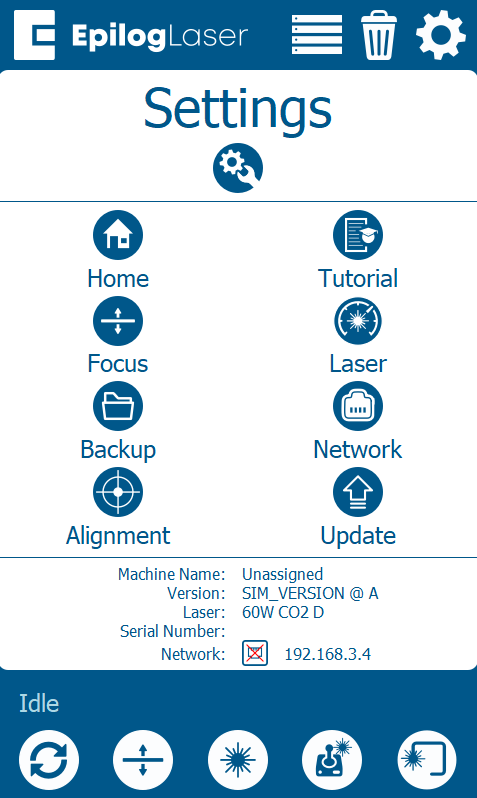
Image 9: Entering Focus Settings.
-
Run the AFP sensor test.
Turn Calibration Mode ON by pressing the “plus” symbol. Then select Table. Press up on the AFP and confirm that the “Plunger” indicator box on the right side of the screen activates. This ensures the sensor is functioning correctly.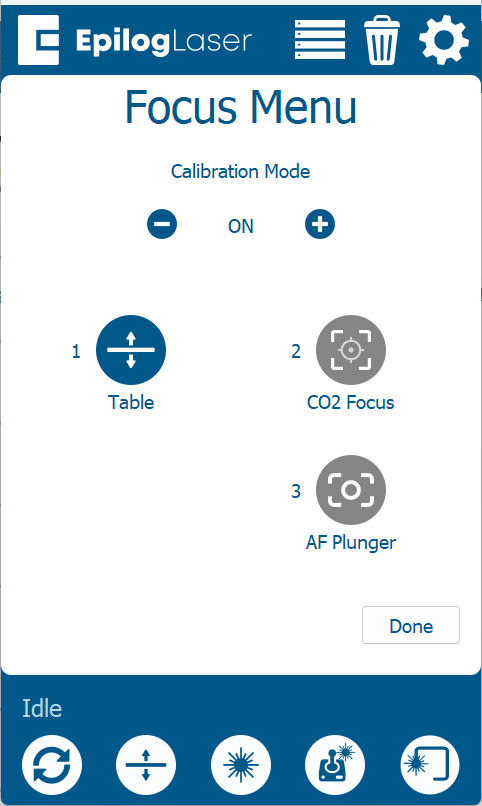
Image 10: Focus Commands menu showing Table selection.
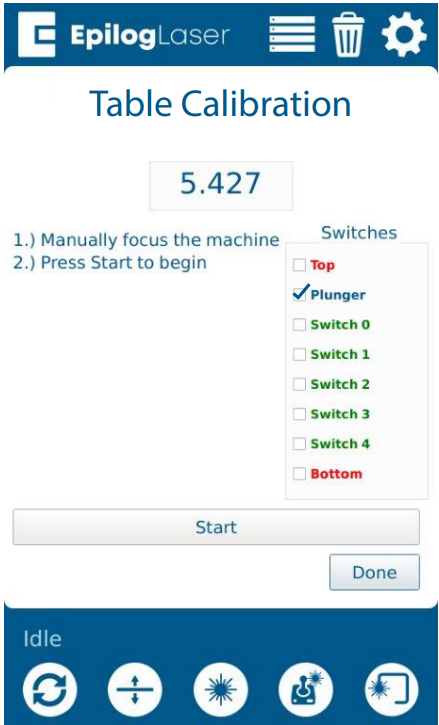
Image 11: Pressing the AFP to test sensor activation.
Final Assembly
-
Reinstall the carriage cover.
Place the carriage cover back onto the assembly.
Image 11: Reinstalling the carriage cover.
-
Secure the cover.
Install and tighten the nine (9) Torx screws that hold the carriage cover in place.
Image 12: Securing the carriage cover with Torx screws.