Introduction
This guide provides step-by-step instructions for removing and replacing the X-Axis Idler Pulley in a large-aperture Fusion Pro 48 laser system. Follow each step carefully to ensure a safe and efficient procedure. Always disconnect power before beginning any maintenance.
Replacement Procedure
-
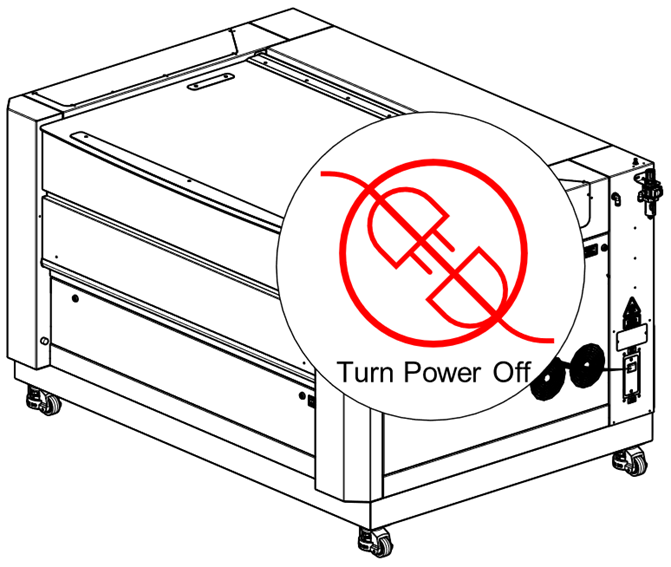
Power off the machine and disconnect the power cable.
-
Remove the left side panel.

-
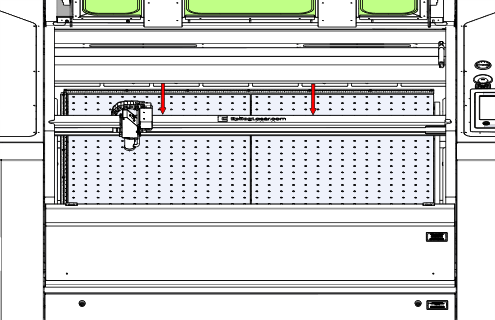
Move the X-Axis rail to the center of the machine.
-
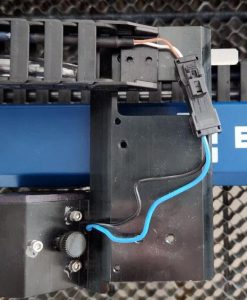
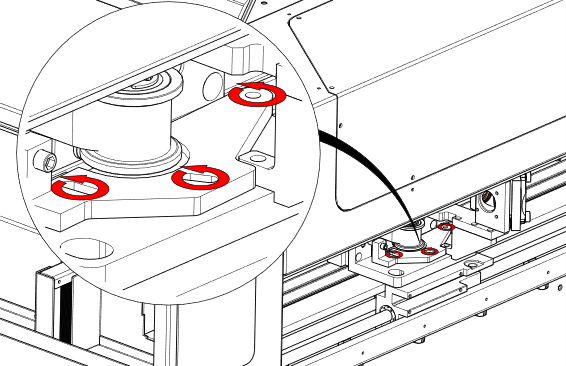
Loosen the tensioner bracket screws.
-
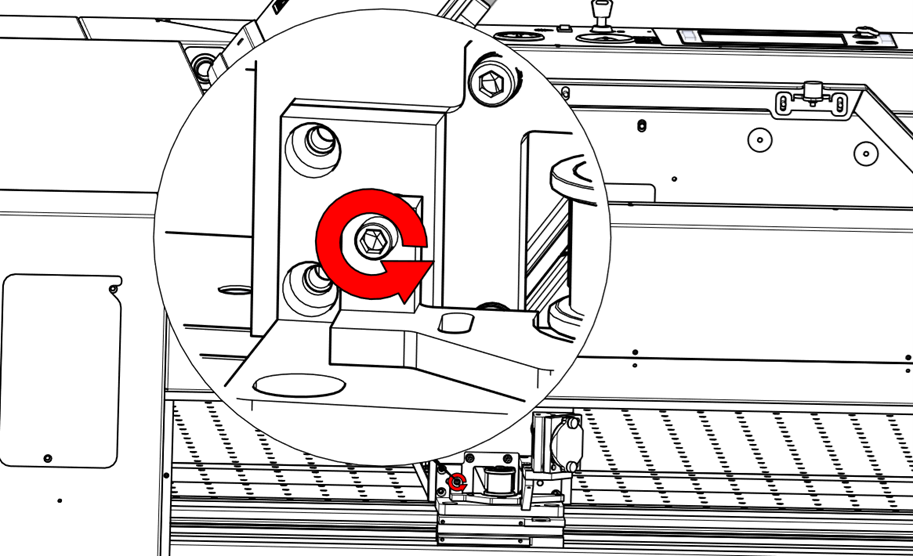
Loosen the tensioner screw.
-
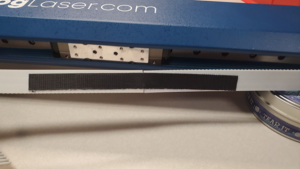
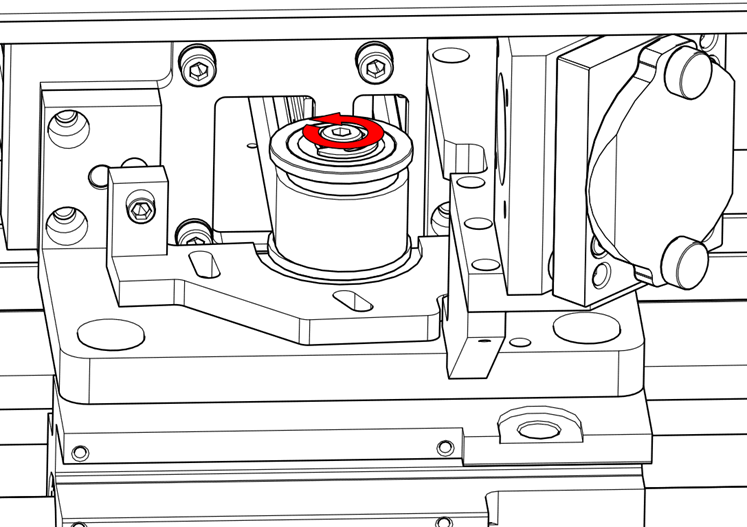
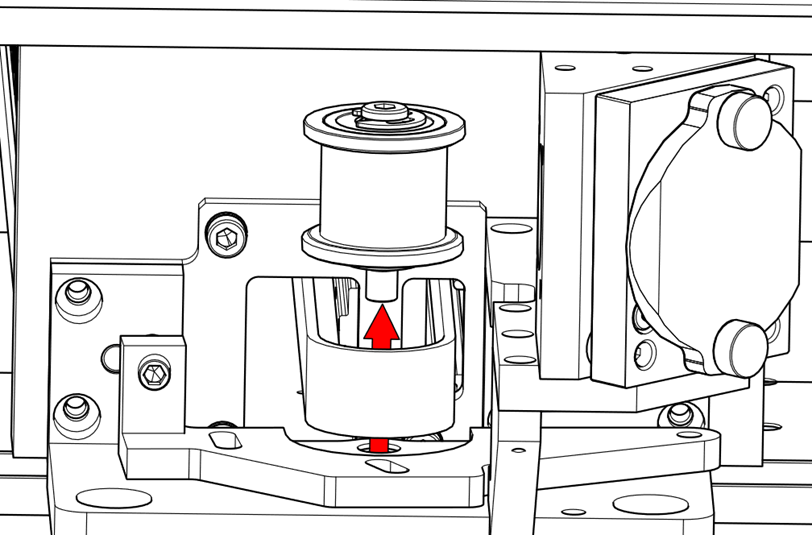
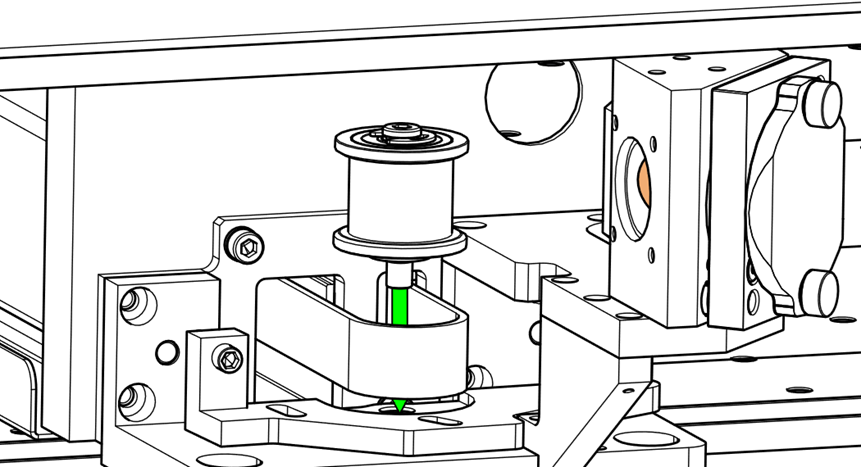
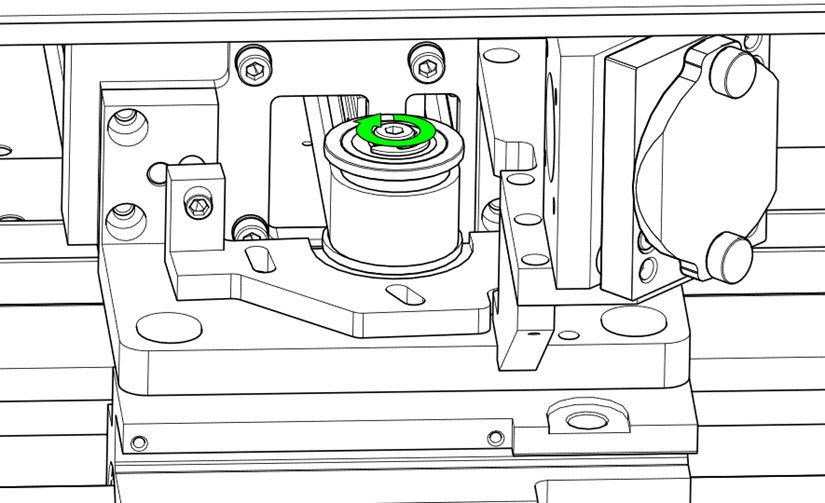
Remove the idler pulley mounting screw and lift the idler pulley out.
-
Install the replacement idler pulley.
Note: Follow the Belt Tensioning Guide to tension the belt before replacing the side panels.
-
Reinstall the left side panel.
Was this helpful?
Thanks for your feedback!